The Magnus Hitch is used to tie a rope to another rope, pole, or spar.
It’s perfect when you need to adjust the tension in the line periodically.
If you already know the Rolling Hitch, you are halfway there.
The difference? In the Magnus Hitch, both ends exit in the same direction, like the Lark’s Head.
Let’s learn it in detail.
Magnus Hitch Details
Type: Hitch Knot
Other Names: Magner’s Hitch
ABoK Reference: #1736, #1857
How to Tie the Magnus Hitch Knot


- Wrap the rope around the object.
- Bring the working end towards the direction of pull and place it over the object.
- Wrap it around the object. Bring the working end over the standing part away from the direction of pull.
- Tie a Half Hitch Knot.
- Tighten the knot.

Pros & Cons
- Easy to tie and untie.
- Resist torsion better than the Rolling Hitch.
- Can be tricky to tighten.
- Can slip with modern synthetic ropes.
Application and Uses
- Secure fenders to the rails on a boat.
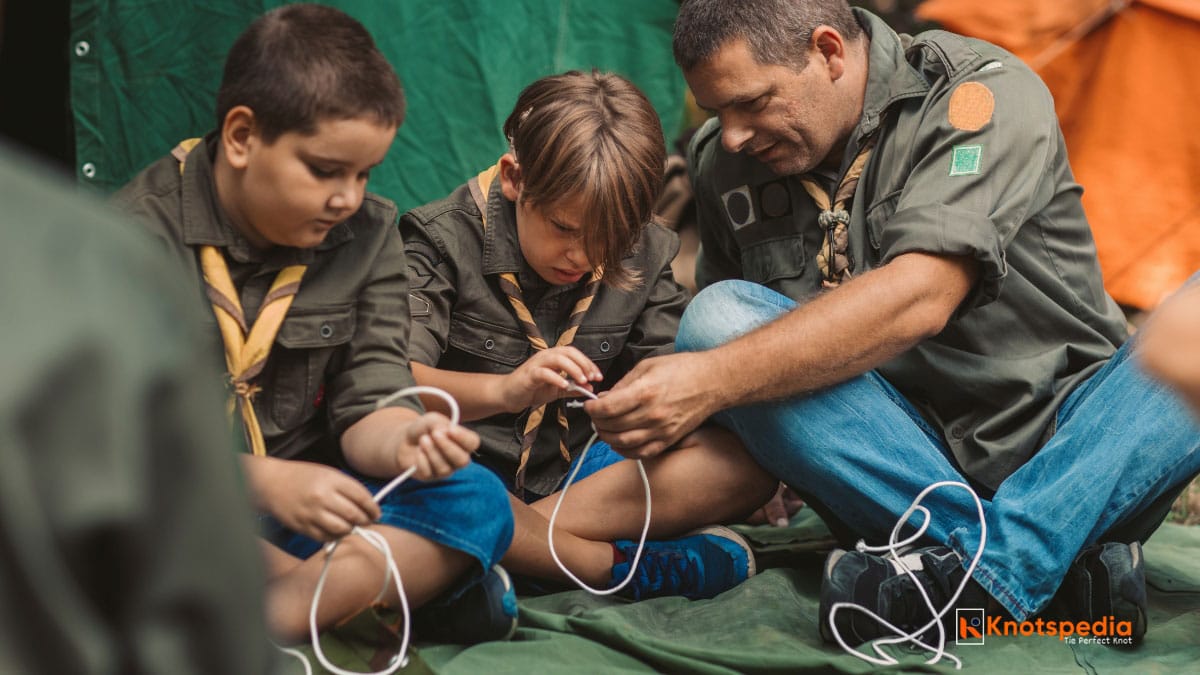
- Adjust the tension of the guy lines and the ridgeline on a tarp or tent.
- Tie the rope to another rope for a lengthwise pull, as it resists torsion and will not twist.
The Rolling Hitch Confusion?
Before the term Rolling Hitch came into use, it was known by a different name called the “Magnus Hitch.”
In 1841, Richard Henry Dana published a book, “The Seaman’s Friend.”
He used the name Rolling Hitch in his work, and the subsequent writers have continued to follow him.
Later, Ashley stepped in and sorted things out. In the Ashley Book of Knots, you’ll find:
- Rolling Hitch 1 (ABoK #1734)
- Rolling Hitch 2 (ABoK #1735)
- Magnus Hitch (ABok #1736)
So, now they are listed as separate knots. No more confusion!

Liked the article? Bookmark it for future reference or share it with your knot-tying friend!