You learn how to tie the Bowline knot. Seems simple enough.
Then one day, you are there holding a rope, trying to figure out if the loop goes to the left or right.
I’ve been there. You probably have too.
It usually happens when you‘re trying to tie the Bowline knot around an object in front of you.
The Classic method just does not work, but you can fix it with a small tweak.
Let me show you how to do it.
How to Tie a Bowline Knot around an Object


- Pass the working end around the object.
- Make a loop in the standing part of the rope.
- Pass the working end through the loop.
- Pass it behind the standing line.
- Feed it through the loop.
- Tighten the knot.

The Bowline knot tends to loosen up under cyclic loading. To further secure it, use the Yosemite Bowline or add a safety backup knot (like a stopper knot) with the tail.
Where do You Use This Knot?
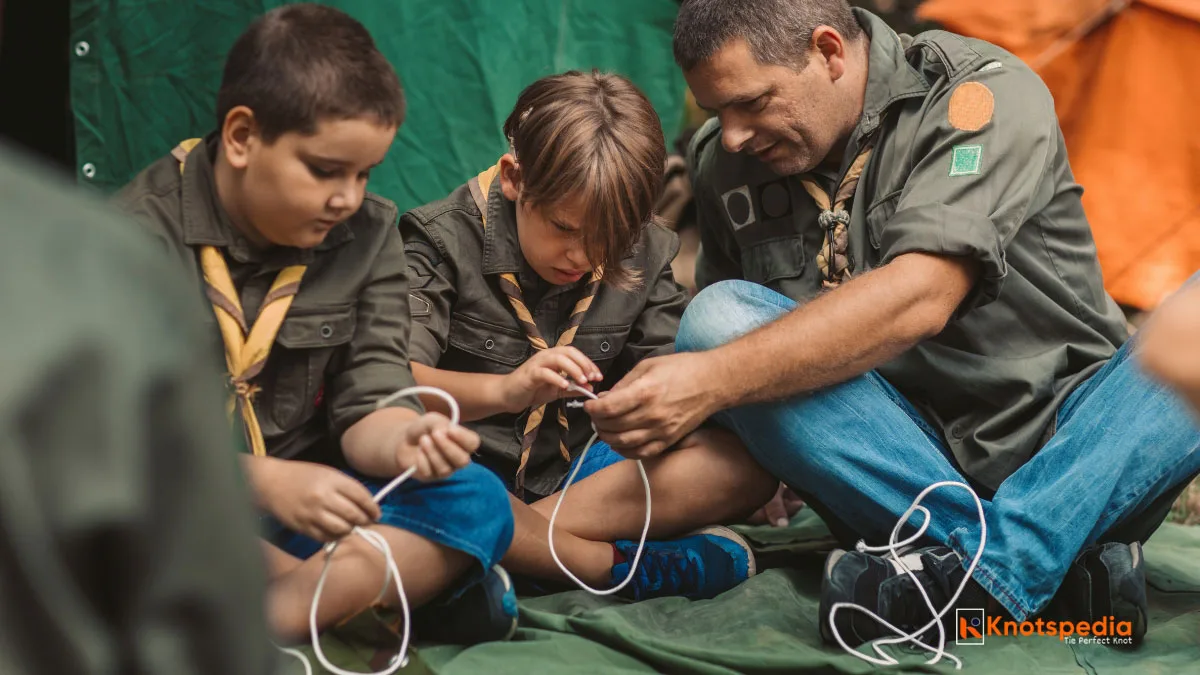
This method of tying the Bowline is useful when you need to make a loop around an object that is away from you (in front), like a post or a tree.
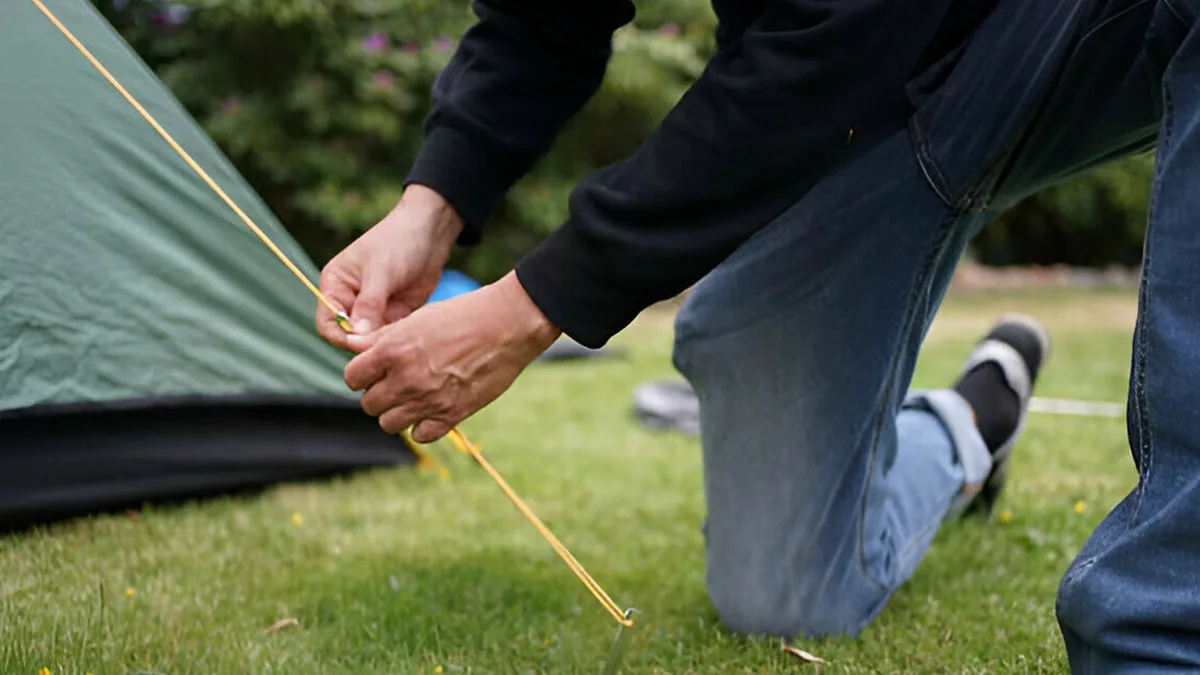
- Camping: Tie your tent to trees or secure tarps to poles.
- Boating: Secure a boat to a dock post or ring.
- DIY and Utility Work: Anchor a load or tie off tools and gear.
Liked the article? Share it or Bookmark for future reference!