The Yosemite Bowline is an extension of the regular Bowline knot.
After finishing the Bowline, you wrap the free end of the rope around the bight and feed it back through the knot.
This addition is known as the “Yosemite Finish.”
It adds to the security and prevents the knot from capsizing into a dangerous Slip knot.
Let’s learn it in detail.
Yosemite Bowline Details
Type: Loop
Other Names: Bowline with Yosemite finish
ABoK reference: NA
How to Tie Yosemite Bowline Knot


- Pass the working end through the loop.
- Pass it behind the standing part.
- Feed it through the loop.
- Take it under and over the bight.
- Pass it through the loop.
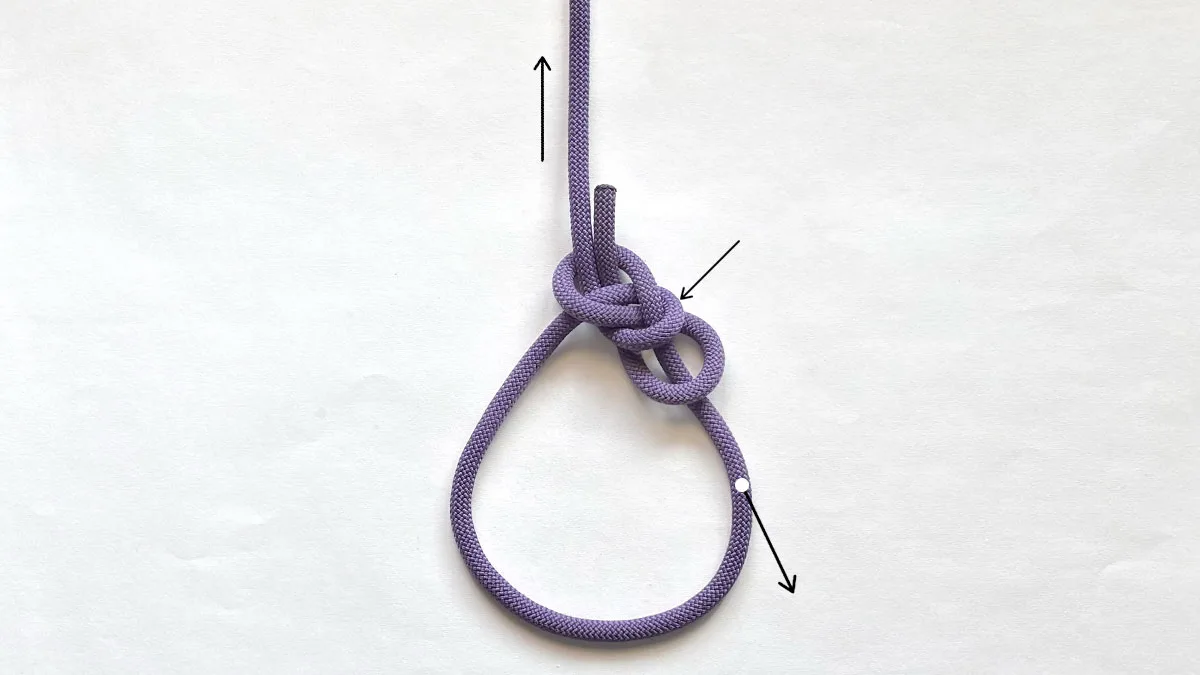
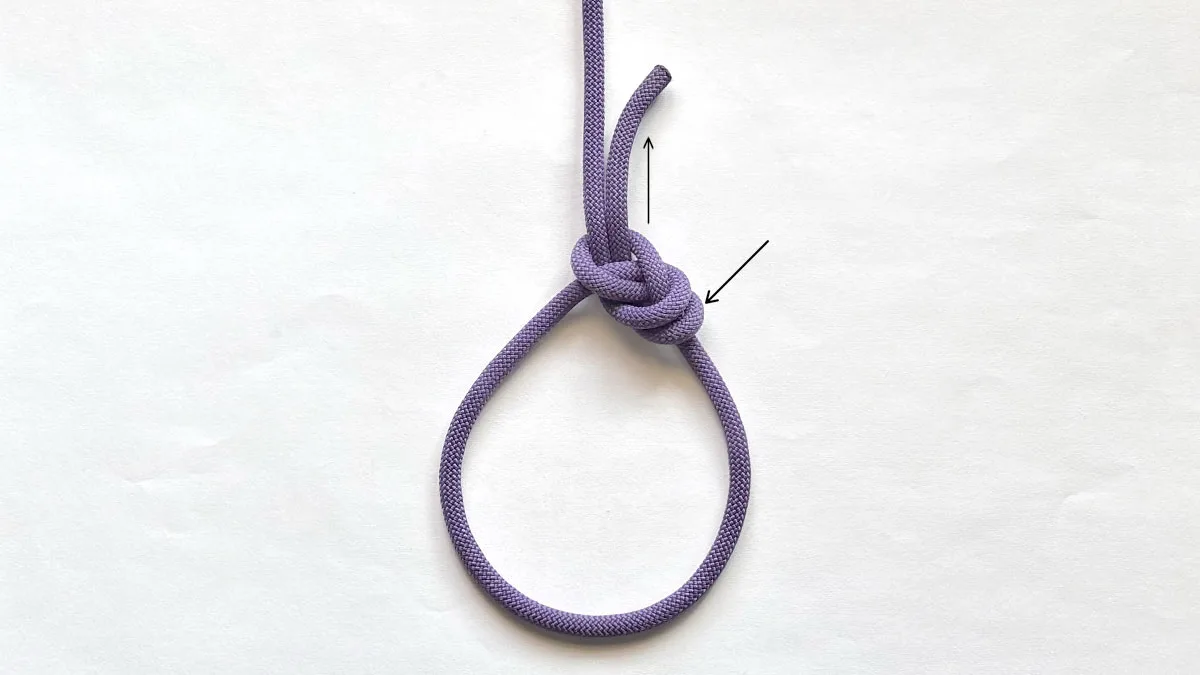
- Hold and pull loop A and then part B to tighten the knot.
Yosemite Bowline Step by Step

Tightening Tips
The Yosemite finished Bowline knot can turn into a disastrous knot if you mess up with the tightening process.
If you tighten the tag end first, you’ll end up ruining the structure of the Bowline, and it defeats the whole purpose of the Yosemite finish.
To avoid this, follow these steps:
- First, pull the bottom of the loop and the standing end. This locks the original Bowline in place.

- Then, pull the working end to tighten the wrap of the Yosemite finish.
If you tighten the tag end before the nipping loop, the tail can shift, and the entire structure of the knot could collapse.
Pros & Cons
- Easy to untie after heavy loading
- Secure than the classic Bowline
- Need to tie and dress the knot in order
Applications and Uses
- As an alternative to the Figure 8 follow through loop for securing the climber’s harness.
- For hoisting or lifting objects.
Double Bowline vs Yosemite Bowline

The Double Bowline and the Yosemite Bowline are both used in climbing.
The Double Bowline has two wraps around the bight which gives it extra strength.
It’s easy to untie after heavy loading.
In the Yosemite Bowline, the tag end makes a round turn around the bight and locks it into the knot structure.
But it’s easy to mess up if not tied and dressed properly.
To sum it up, the Double Bowline is easier to tie and less risky. The Yosemite Bowline offers added security, but there’s a possibility of getting it wrong.
Warning: The Yosemite Bowline adds to the security of the regular Bowline, only if you tie and tighten it correctly.If tied wrong, it’s downright dangerous.
If you like the article, don’t forget to Share or Bookmark it for future reference.