This summer, teach your kids something better than screen time: how to tie knots.
Not just for fun, but for real life.
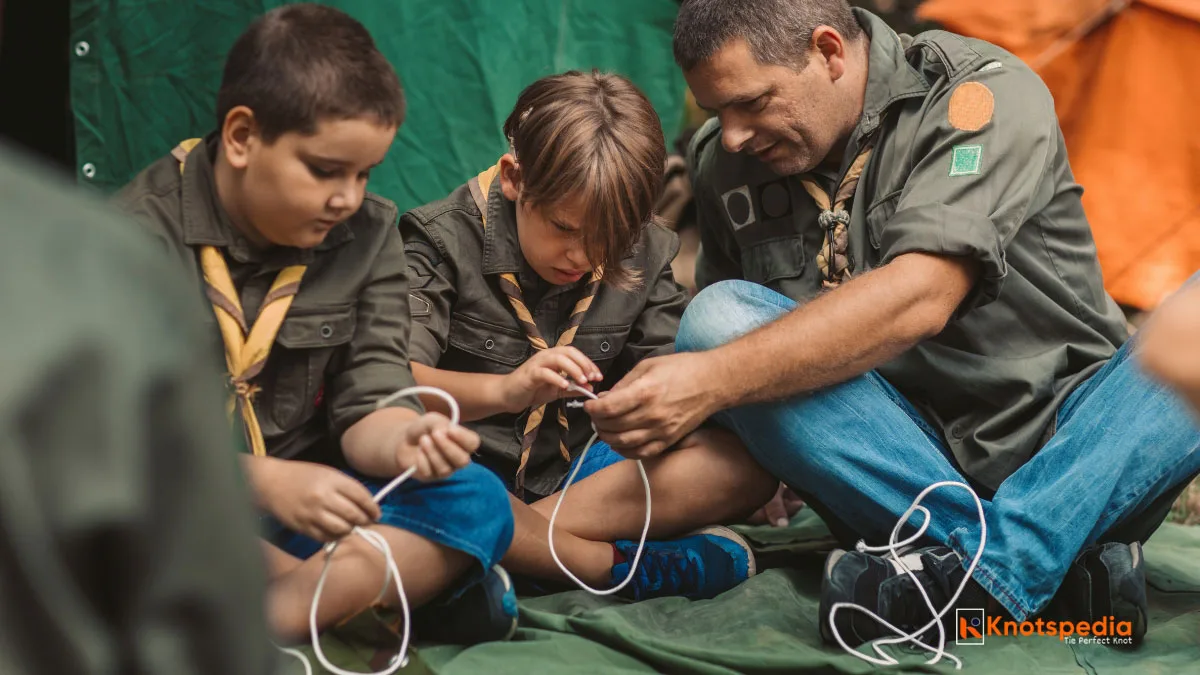
After 5 years of teaching rope skills to kids at summer camps, I’ve seen how knot tying transforms children.
It teaches problem solving, builds hand-eye coordination, sparks curiosity, and creates genuine confidence that lasts.
Here are the six knots I’ve successfully taught over 200 kids in various summer camps.
Before We Start: Safety First
Here are the important safety rules you should follow, always:
- NEVER tie knots around necks, wrists, and other body parts.
- Adult supervision is a MUST during the learning and practice phase.
- Use cotton ropes and AVOID Nylon ropes.
- Before starting, establish what’s okay to tie and what’s not.
Now, let’s get into the knots!
Figure 8 Knot
The Figure 8 Knot is the easiest knot to start with.
It looks like the number “8” when you’re done, and it’s practically impossible to mess up.
What’s cool about it: It prevents the end of the rope from slipping through the holes, pulleys, or any opening.
Steps
- Create a bight in the rope.
- Pass the working end over and under the standing part.
- Feed it back through the loop.
- Pull both ends to tighten the knot.

Try this:
- Tie a Figure 8 stopper at the end of the jump rope so it doesn’t slip through the bucket.
- Use it as a stopper knot in a pulley setup made with string and toys.
Parent Safety Note: Totally safe for independent play. Just remind kids not to tie knots around fingers or necks.
Sheet Bend
Need to join two ropes together securely? This is the knot.
Why it’s cool: It teaches how to extend rope length without the rope slipping through.
Steps:

- Make a bight (U-shaped figure) on the thicker rope.
- Pass the end of the thinner rope through the bight.
- Pass it under the thicker rope.
- Pass it under itself and over the bight.
- Pull all ends to tighten the knot.
Try this:
- Join your jump rope to another and make a giant rope snake.
- Tie two shoelaces together and measure stuff around the house.
Parent Safety Note: Safe to play with. Show them both single and double versions. Let them experiment and see what holds better.
Bowline
This one’s a rescue knot.
It makes a strong, non-slipping loop that doesn’t bind and stays strong even under load.
It’s used in rescue situations and sailing, but kids can use it too.
Why it’s cool: Once you learn the rabbit and the tree story, it sticks forever. The story goes like this: “The rabbit comes out of the hole, goes around the tree, and back through the hole.”
Steps (with a story)

- Make a loop at the end of the rope.
- Pass the working end through the loop (rabbit out of the hole).
- Pass it behind the standing part of the rope (goes around the tree).
- Feed it back into the loop (back through the hole).
- Tighten the knot.
Try this:
- Make a loop and rescue your teddy bear from falling off the couch.
- Make a leash for your toy dog (not your real one, please)
- Tie a tarp to a tree to build a quick fort.
Parent Safety Note: Strongly remind kids not to tie the loop around wrists, necks, or any body part.
Square Knot
This one’s classic.
It’s how you tie two ropes together or the two ends of the same rope. It is also called the Reef Knot.
Why it’s cool: It’s used for bandages, bundling items, and scout sashes.
There’s a magic phrase that makes it foolproof: “Left over right, right over left.”
Steps:

- Cross the GREEN rope over the RED rope (Left over Right).
- Tuck it under the RED rope.
- Cross the GREEN over the RED once again (Right over Left).
- Tuck it under the RED one.
- Tighten the knot.
Try this:
- Bundle up rolled socks or towels.
- Tie a cape around stuffed animals.
- Learn to tie the shoelaces together. Start with the square knot, and in the last step, fold the shoelace and feed it as you would do. It’s a bit tricky!
Parent Safety Note: It’s not the strong knot for joining two ropes, so don’t use it for hanging or weight-bearing tasks.
Round Turn and Two Half Hitches
The name sounds long, but it’s a super useful knot.
It’s used to attach a rope securely around a post, tree, or ring.
Why it’s cool: It’s strong, it won’t come undone if tied right. Kids can use it to anchor things.
Steps

- Pass the rope around the object two times to make a round turn.
- Pass the working end around the standing part.
- Pass it around the standing part again in the same direction as before.
- Tighten the knot.
Try this:
- Tie balloons to a chair at a birthday party.
- Combine with the Tautline hitch to make an adjustable clothesline.
- Tie a rope to the suitcase handle for an expedition game.
Parent Safety Note: Perfect for anchoring, just make sure kids don’t tie it to things they shouldn’t. Plumbing, pets, and siblings are off limits.
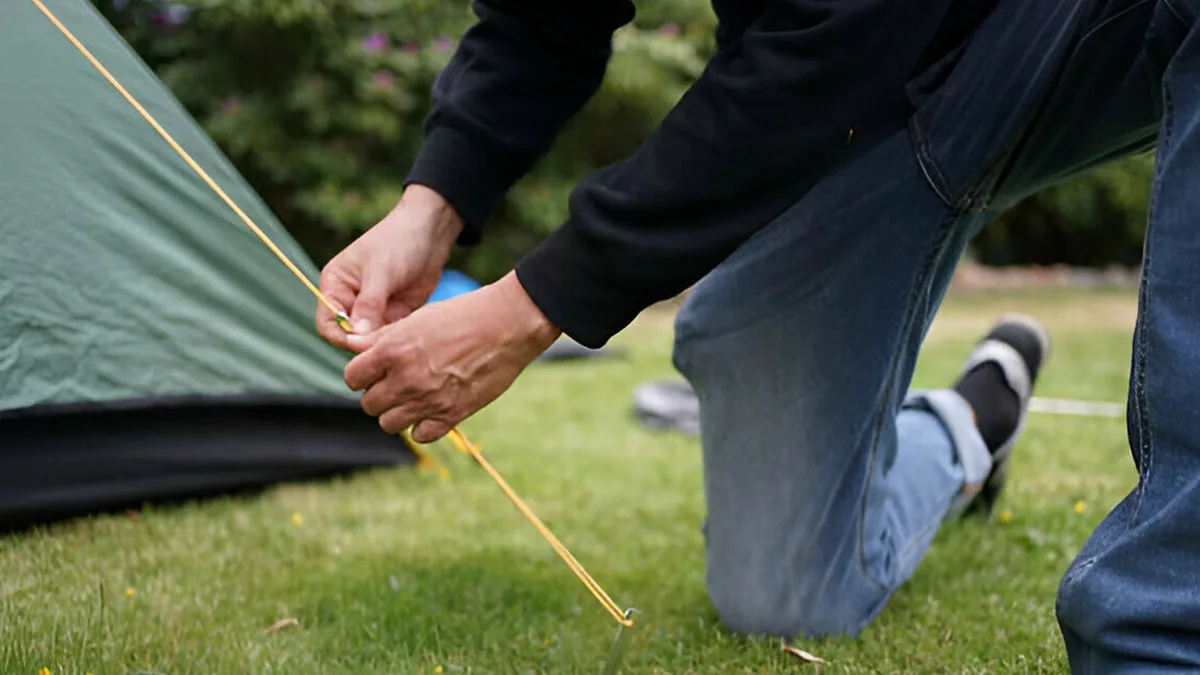
Tautline Hitch
This is an adjustable sliding knot.
It slides up and down the rope and allows you to adjust the tension easily.
Why it’s cool: It helps to tighten tent lines and clotheslines that need adjusting.
Steps:

- Pass the rope around the object.
- Make a first wrap around the standing end.
- Wrap it again, going in the same direction and take it out of the loop.
- Make a third wrap around the standing end.
- Pull the working ends to tighten the knot.
Try this:
- Make a mini clothesline between chairs and hang tiny socks.
- Build a sheet tent and use this knot to adjust the tension at the corner.
Parent Safety Note: It can slip if it’s not tied right. Let them slide it and then pull hard to test. Perfect for learning cause and effect!
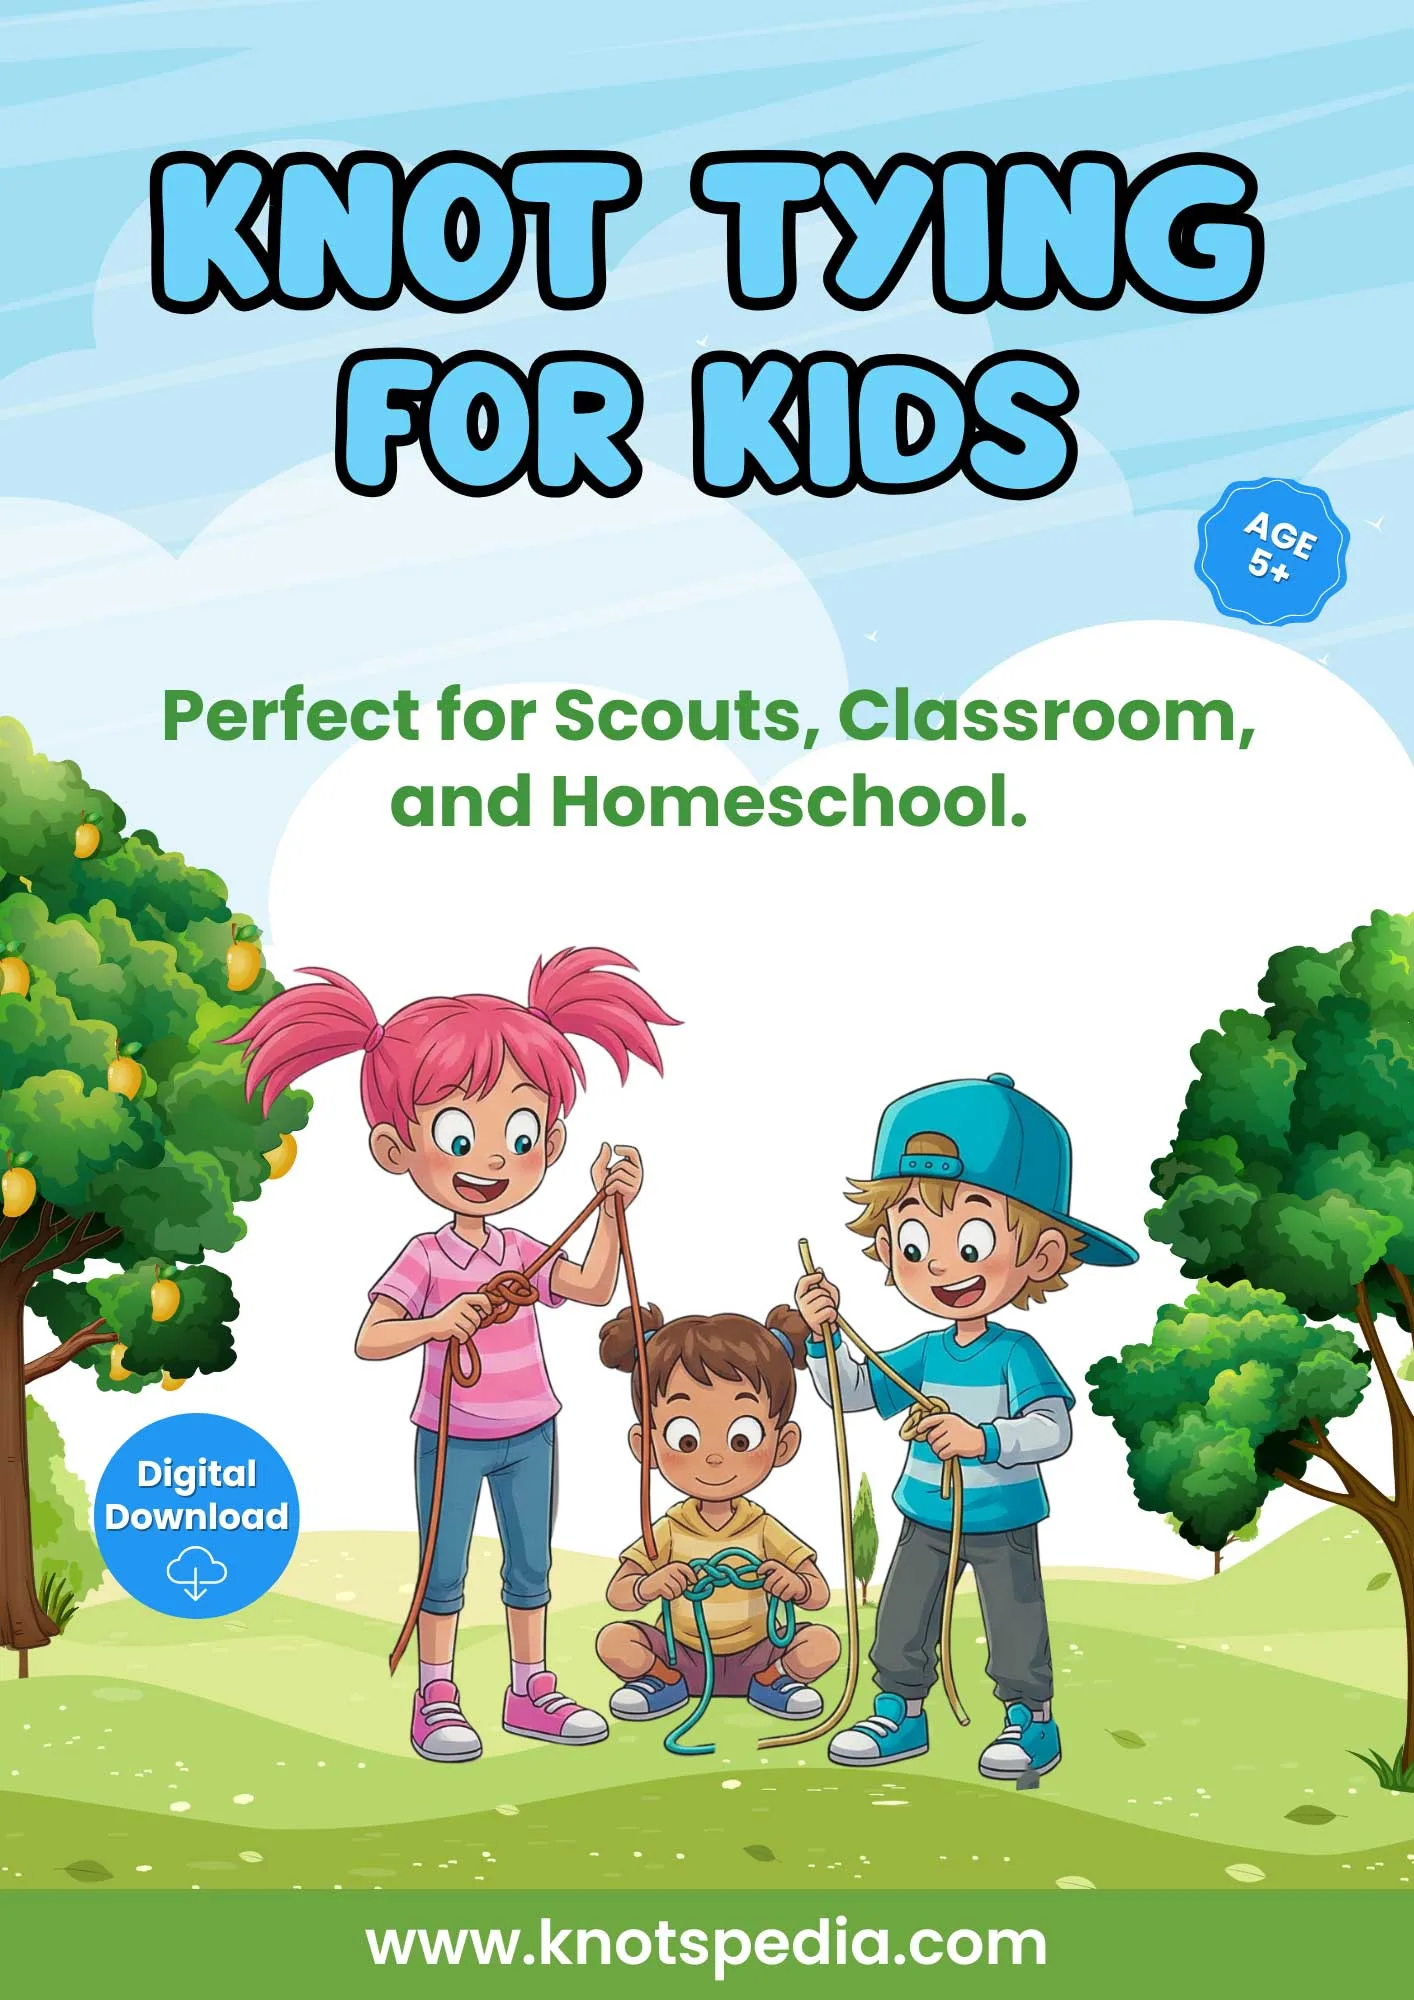
🎉 Knot Tying for Kids! 🎉
Master the essential knots with step-by-step instructions, fun practice activities, and exciting challenges!
Download the “Knot Tying for Kids” digital and printable ebook—perfect for ages 5+.
Download the Ebook NowThe Amazing Story of the Knot Guru
Ever heard of Clifford W. Ashley? Most people haven’t.
He wrote “The Ashley Book of Knots.” It has over 3,800 knots and took him more than 11 years to finish.
But here’s the fun part—he started exactly like your kids.
At three, he learned a reef knot from his uncle. By age nine, he ran a backyard circus, tying all the ropes himself.
So yeah—if your kid is learning knots now, they’re following the same path as the man who gave the world the most valuable knot knowledge ever!
Parents Guide to Knot Tying Success
To make knot tying for kids successful, here are a few things you need to consider:
Choose the Right Rope
- Best choice: Paracord works best. Cotton rope is better for kids.
- Avoid: Plastic or Nylon ropes—it’s tough for small hands.
- Size: About pencil thickness (7mm cord) should be fine.
Make it Magical
- Add a story: “Can you rescue the bear from the laundry basket?” or “Can you build a fort for the queen’s picnic?” They’ll remember it.
- Create Challenges: Can they tie all the knots by memory? Can they do it blindfolded? A bit of friendly competition.
- Document the journey: Take photos and videos. Start a knot journal. Let them show off to grandparents or friends.
Perfect Learning Pace
- One knot per day: One knot a day is enough. Let them repeat the same knot for a few days. Slow is better than perfect.
- Practice daily: 10-15 minutes each day is enough.
This summer, teach your kids these six knots, and you’re not just keeping them busy. You’re giving them tools for life. Something they’ll remember.
Start with a Figure 8 knot tomorrow morning. By the end of summer, you’ll have a confident and skilled knot master on your hands.
I’ve seen screen-addicted children choose rope practice over video games. It’s magical to create something useful with your own hands!
Grab some rope and let the adventure begin!
Safety Disclaimer: Adult supervision required. Never tie knots around body parts. Use appropriate materials and establish clear safety rules before beginning.
About the Author: Binod Gautam has been teaching outdoor skills to children for 5 years through summer camps. He has personally taught knot tying to over 200 kids aged 6-14.