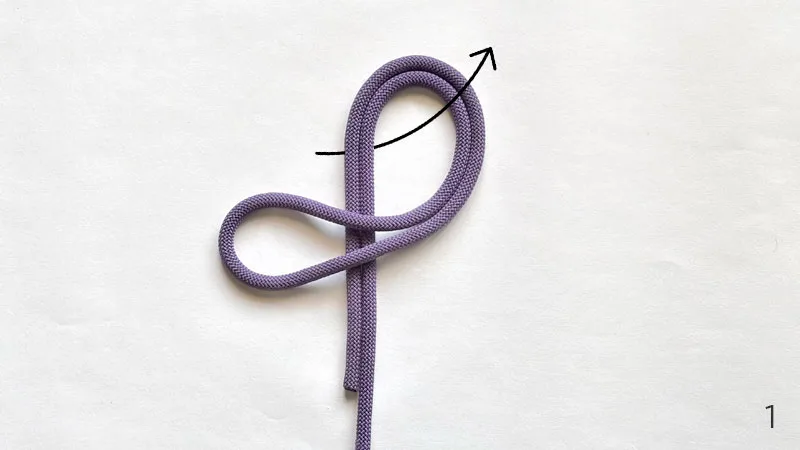
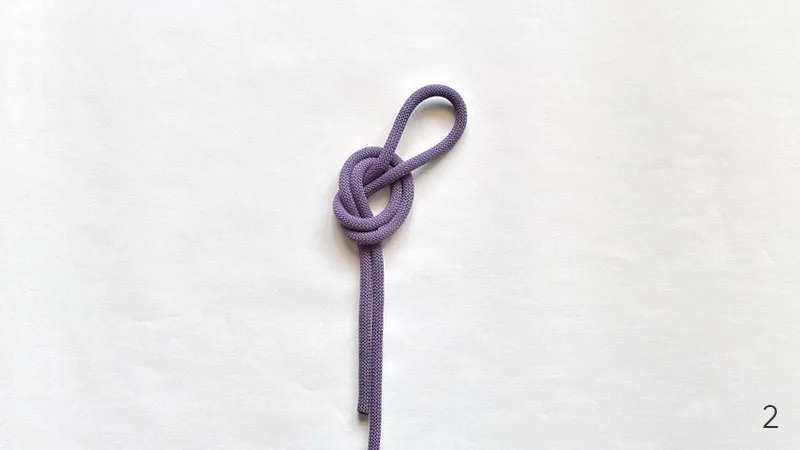
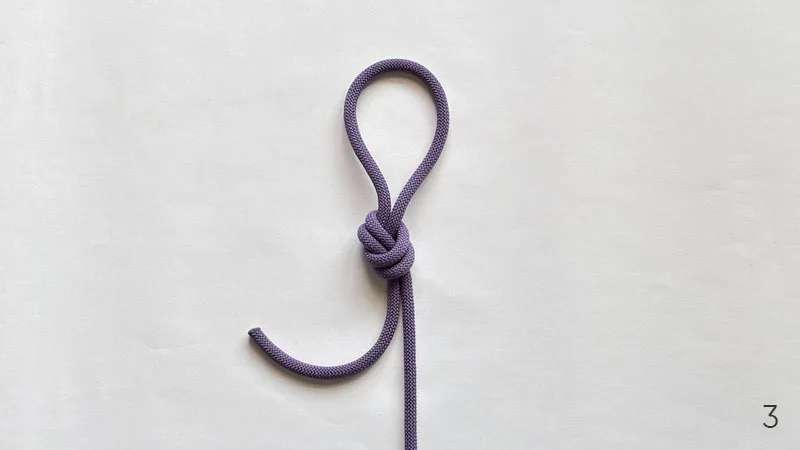
The Overhand on a Bight is an Overhand Knot that is tied with a bight of rope instead of a rope’s end.
It consists of a fixed loop at the end of a rope or anywhere along the line.
Let’s learn this knot in detail.
Overhand on a Bight Details
Type: Loop
Other Names: Overhand Loop, Overhand Loop Knot
ABoK Reference: #518, #1009, #1046
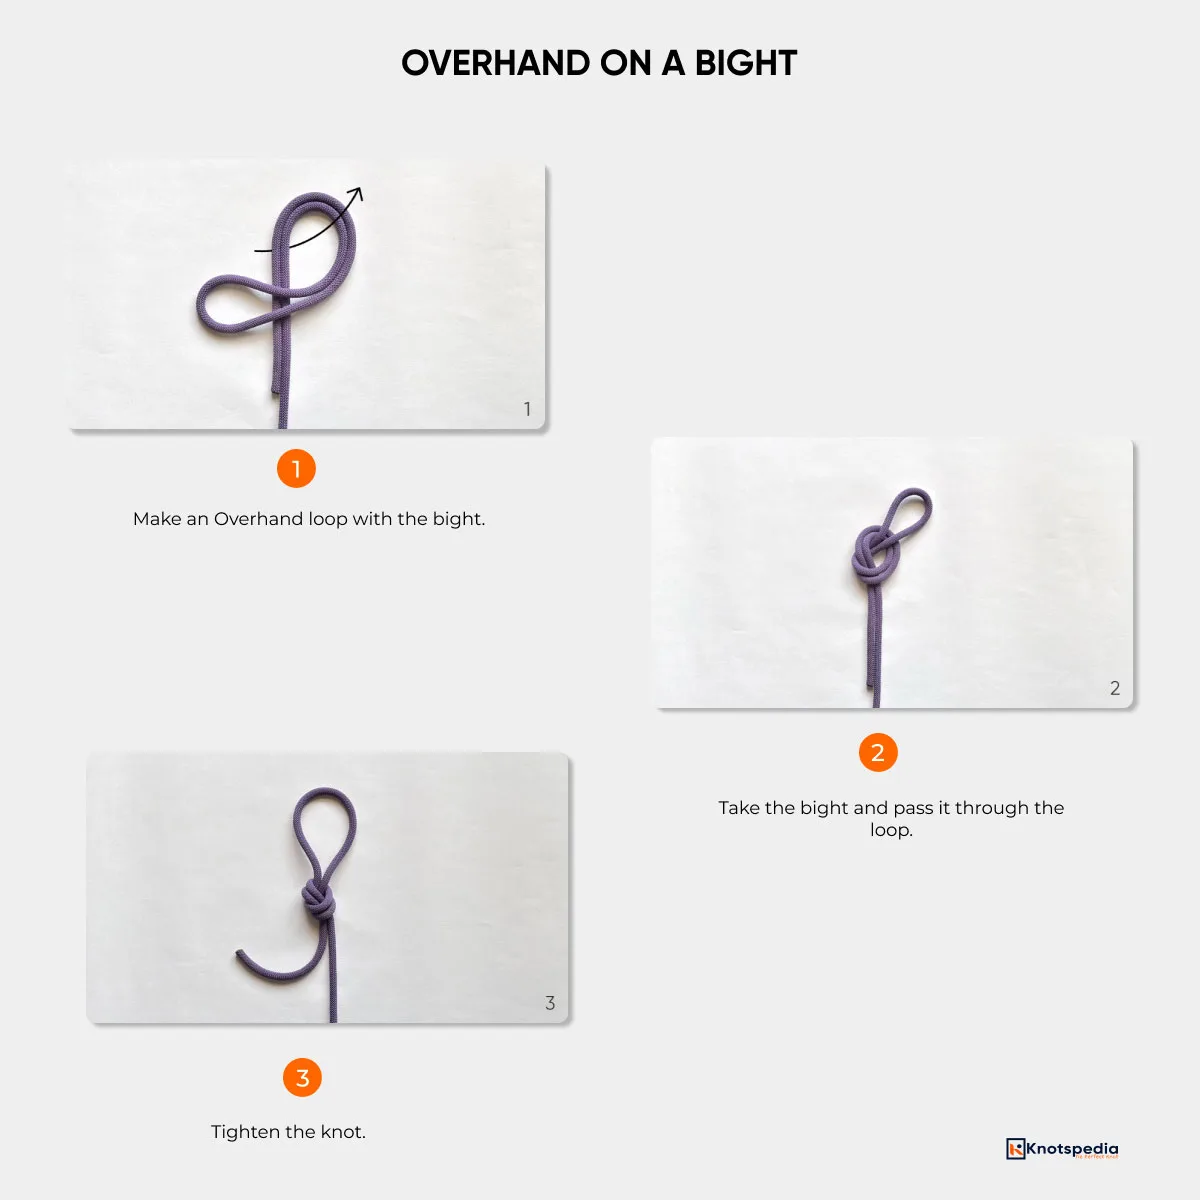
How to Tie an Overhand on a Bight Knot
- Make an Overhand loop with the bight.
- Pass the bight through the loop.
- Tighten the knot.
How do you know you have tied this right? Just look for the set of two parallel lines in the knot.
To untie, hold the knot and push the standing end upwards. Then, it’ll come apart on its own.
Overhand on a Bight Step by Step
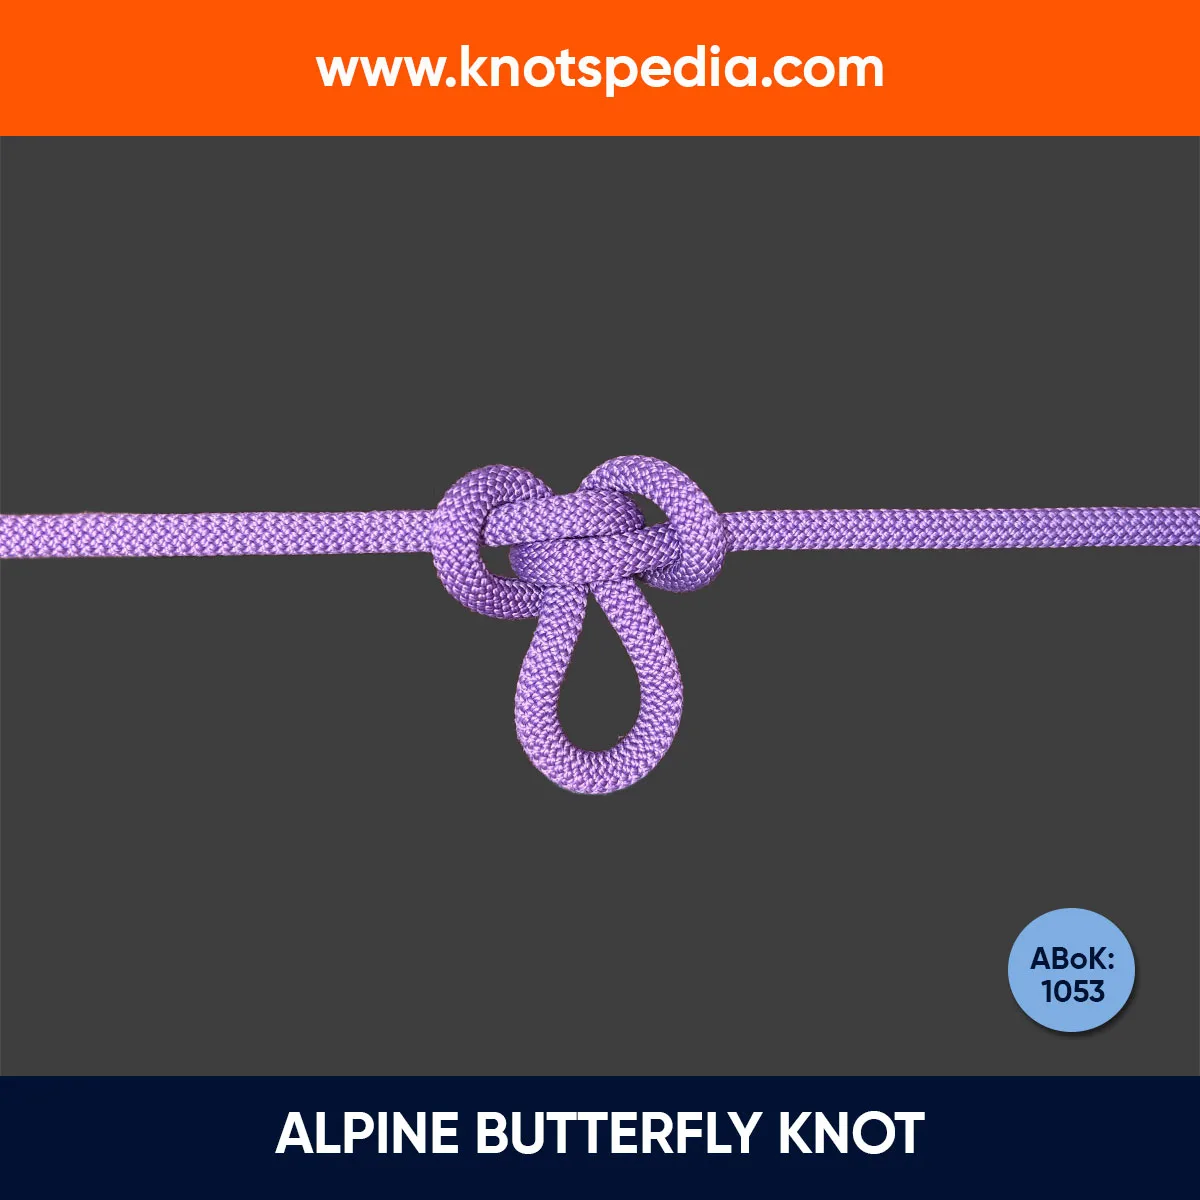
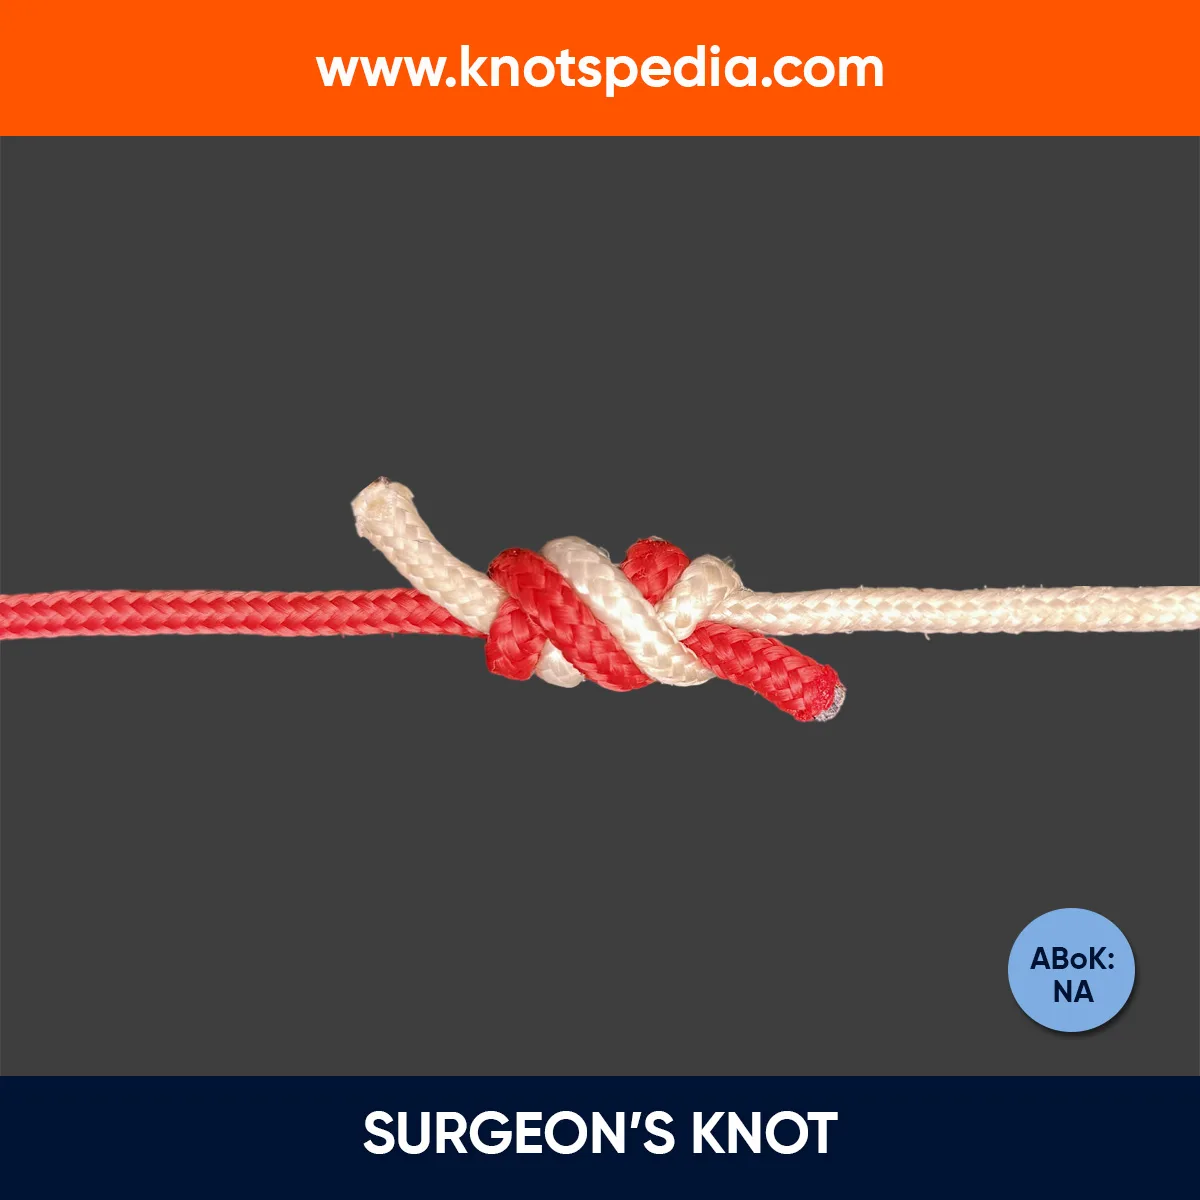
Need a temporary loop knot that is easy to untie? Go with the Slipped overhand loop. If you need to secure the knot further, tie the Double Overhand loop (also called the Surgeon’s Loop Knot).
Overhand on a Bight Knot Strength
The simple Overhand Knot retains the rope strength by 50% to 60%.
The Relative strength of the rope can increase up to 80% if you tie Overhand on a bight.
That said, it’s not used at sea because it can jam and becomes difficult to untie after it has been loaded.
Pros & Cons
- Easy knot to tie as everyone knows how to tie a basic Overhand knot.
- Can be tied anywhere along the rope without the need for the end.
- Difficult to untie after it has been loaded.
Applications and Uses
- Tie hooks or lures to the fishing line.
- Build anchors in climbing or rescue situations.
- Attach the midline of a rope to a carabiner or climbing gear.
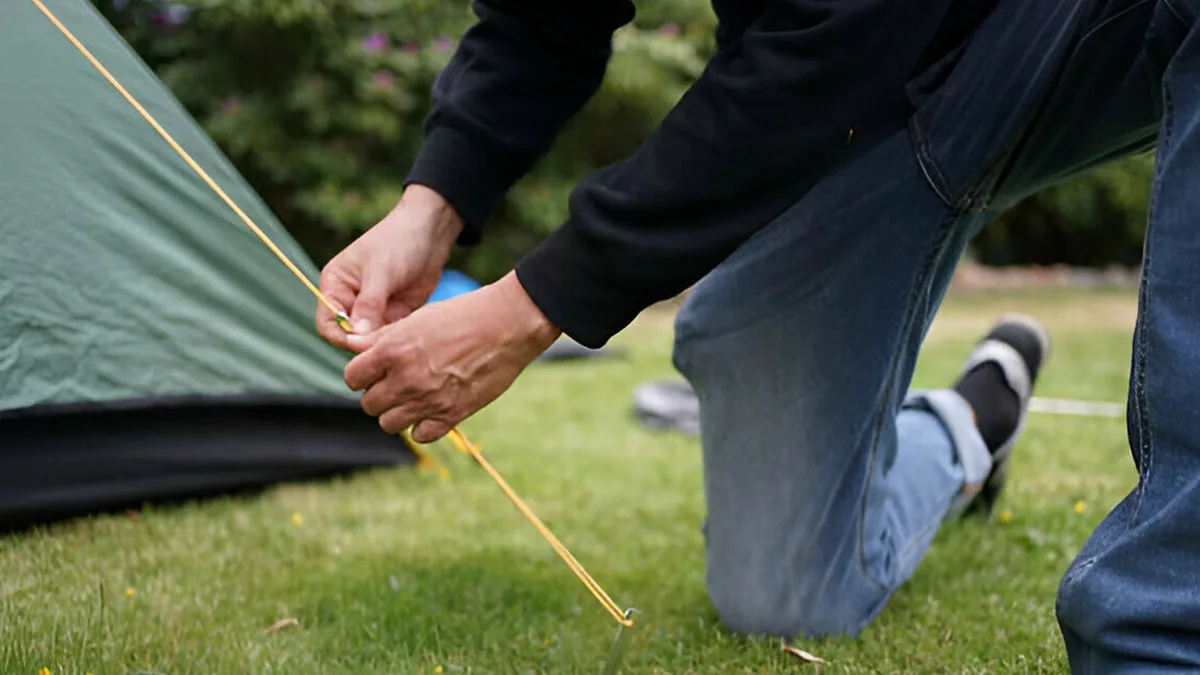
- Create adjustable guy lines or attach ropes to stakes or trees while camping.
- Every day use, like making loops in lanyards or tying parcels.
- Securing the kite lines in kite flying (though a better alternative exists, like the Figure 8 Loop paired with the Lark’s Head)
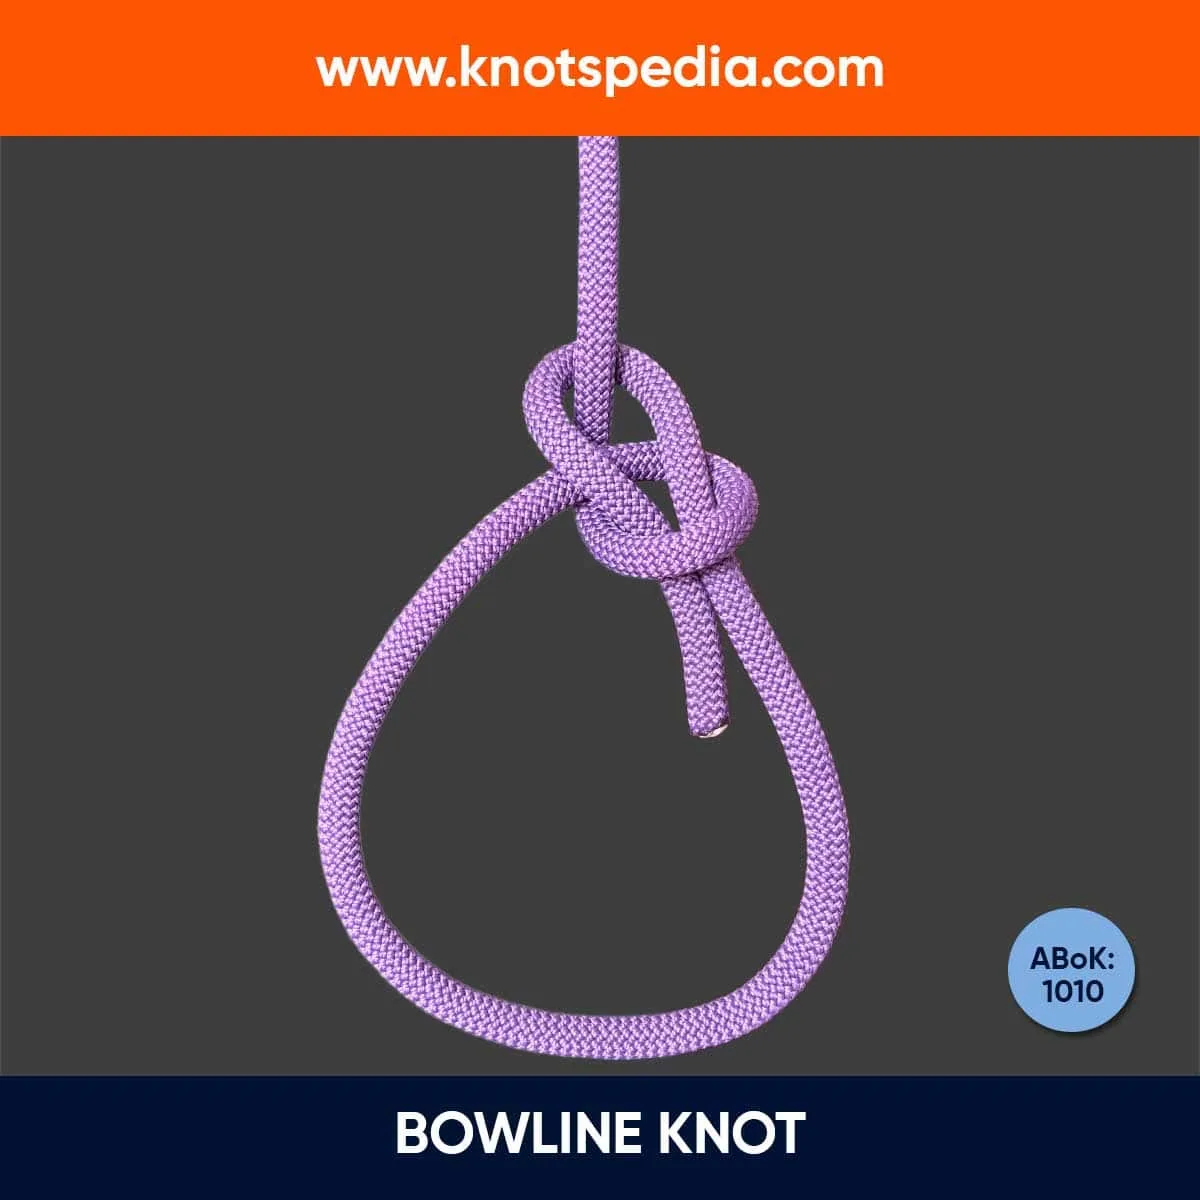
Overhand on a Bight vs Bowline Knot
The Overhand Loop Knot is not a weak knot per se, but it jams after taking a heavy load.
If you want a secure knot that is easy to untie, the Bowline Knot is the best fit.
But it can shake loose when there is no tension in the line.
Fun Fact: Believe it or not, the Overhand on a Bight isn’t recommended by the Boy Scouts. Why? Because it looks similar to the Bowline, which can lead to confusion.
Overhand on a Bight vs Figure 8 Loop Knot
The Figure 8 Loop (the Figure 8 follow through loop in particular) is used for attaching rope to a climbing harness.
It has a high relative knot strength (around 85%) and is used as a standard tie-in knot.
The Overhand on a Bight is weaker than the Figure 8 Loop, but it’s not the weakest knot.
It’s used in climbing to set up anchors and clip the rope to the carabiners.
The Overhand on a bight is less bulky and requires less rope than the Figure 8 Loop.
The main advantage of the Figure 8 Loop over the Overhand Loop is that it’s easier to untie after heavy loads.
Share this article!
