The Artillery Loop Knot forms a single loop in the bight of a rope.
Back in the day, it was used to manhandle guns on boggy and hilly grounds.
Geoffrey Budworth pointed out that it’s designed to take the strain in only one direction, but no solid information on which end should be loaded.
Let’s learn it in detail.
Artillery Loop Knot Details
Type: Loop
Other Names: Artilleryman’s Loop, Harness Loop, Man-Harness Knot
ABoK Reference: #153, #1050
How to Tie an Artillery Loop Knot


- Make a loop with the working end below.
- Bring the standing part down under the loop just formed.
- Feed the rope through the loop.
- Tighten the knot.
If you need a larger loop, start with a larger original loop.
Artillery Loop Step by Step

Pros & Cons
- Easy tie and untie.
- Can be tied in the middle of the rope.
- Slip easily when not tightened properly.
- Not safe for critical applications.
Application and Uses
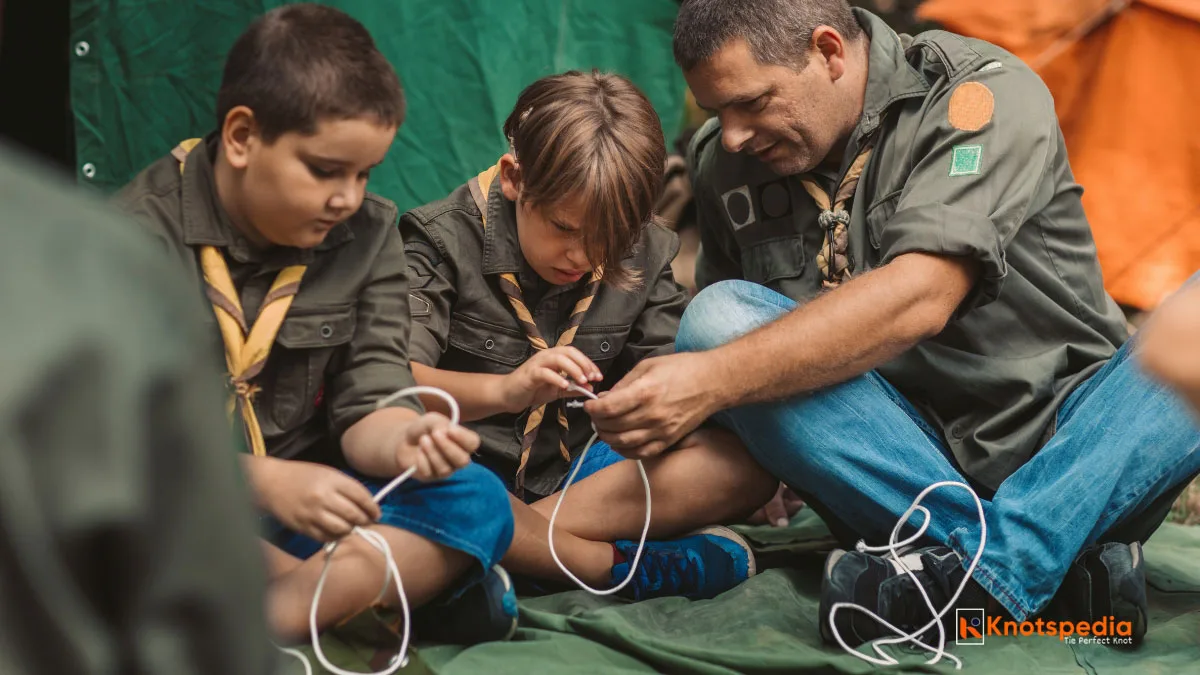
- In the old days, it was used to pull heavy loads by making a series of shoulder loops along the rope. This allows their hand to be free for other tasks.
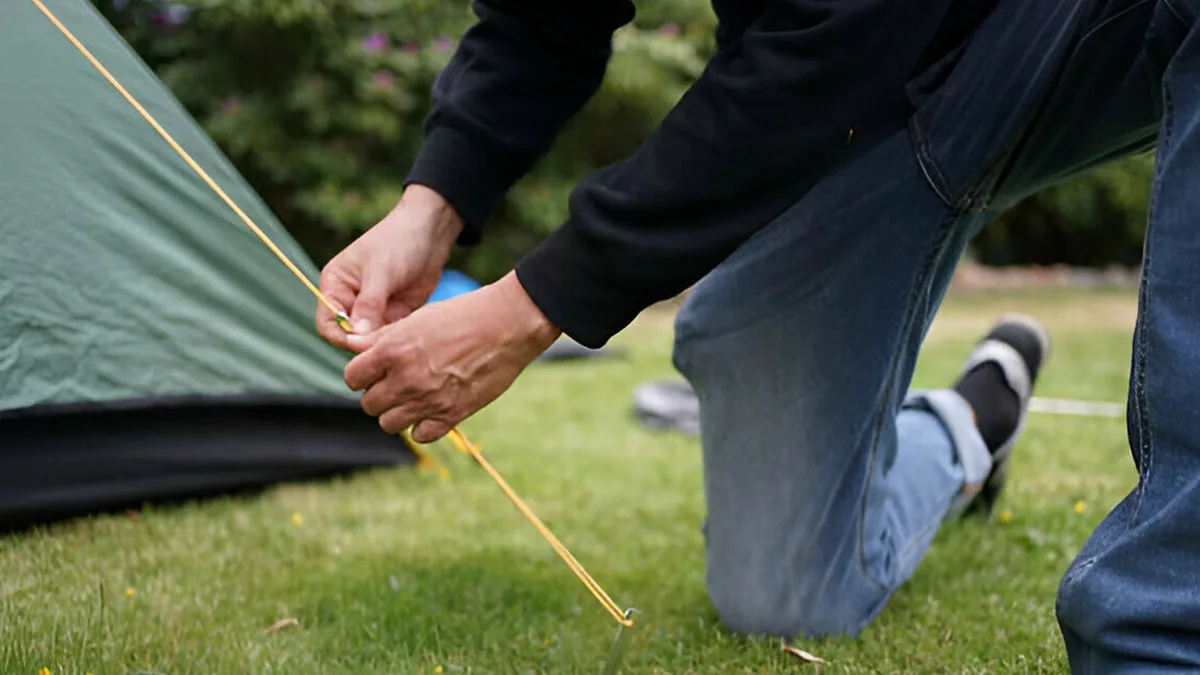
- It’s also used to haul and maneuver the guns into position.
- It’s used to assist horses or mules when additional force is needed.
- Today, you’ll find it in ranch work to tether animals or even in fishing by anglers to attach dropper flies.
Double Harness Loop

Here’s the thing: the Artillery loop tends to slip when used in wet conditions.
The Double Harness Loop (ABoK #1052) increases the security of the Artillery Loop.
It’s the safe alternative, but it takes some dexterity to tie this knot as it takes a bit of practice to master this knot.
Alternative: Alpine Butterfly Knot

The Alpine Butterfly knot is probably the best single-loop knot out there.
It’s easy to tie, looks clean and symmetrical, and it’s easy to untie after heavy loading.
The best part?
It’s super safe and can be used for critical applications.
Other Similar Knots
Farmer’s Loop Knot

The Farmer’s Loop also creates a single loop in the middle of the rope.
It’s more secure than the Artillery Loop, but not as reliable as the Alpine Butterfly Knot.
It’s easy knots to tie and once you get the hang of it, it’s hard to forget.
Span Loop Knot

The Span Loop is another single loop knot.
In Ashley’s words, it’s extremely easy to untie after loading and one of the strongest and most secure knots.
It’s used in rigging and attaching hooks for the tackle block system.
Directional Figure 8 Knot

The Directional Figure 8 knot forms a single loop in the middle of the rope.
It can be used as an attachment point for climbing tasks.
It’s a secure loop knot, but it can only take the loading in a certain direction, or it could spill.
Liked the article, Share it or Bookmark it with your family and friends!