Ossel Hitch

Written by Binod Gautam

Published on:

The Ossel Hitch is used to tie a rope to an object, but it has a cool history related to fishing.

So, what does “Ossel” mean? 

It’s a Scottish fisherman’s word for a gill net and the line attaching the net to a submerged rope.

It secures the lower ends of floating ropes that support the nets.

Let’s learn it in detail.

Ossel Hitch Details

Type: Hitch

Other Names: None

ABoK Reference: Not Available

How to Tie the Ossel Hitch Knot

  1. Pass the working end down behind the rope and bring it to the front.
  2. Wrap the tag end behind the standing end and to the front.
  3. Pass it under the rope.
  4. Feed it under the first turn.
  5. Tighten the knot.
ossel-hitch-knot-diagram-step-by-step
Image: Ossel Hitch Step by Step

Pros and Cons

Pros

  • Quick and easy to tie
  • Holds strong with underwater movements

Cons

  • Works best with same diameter ropes

Application and Uses

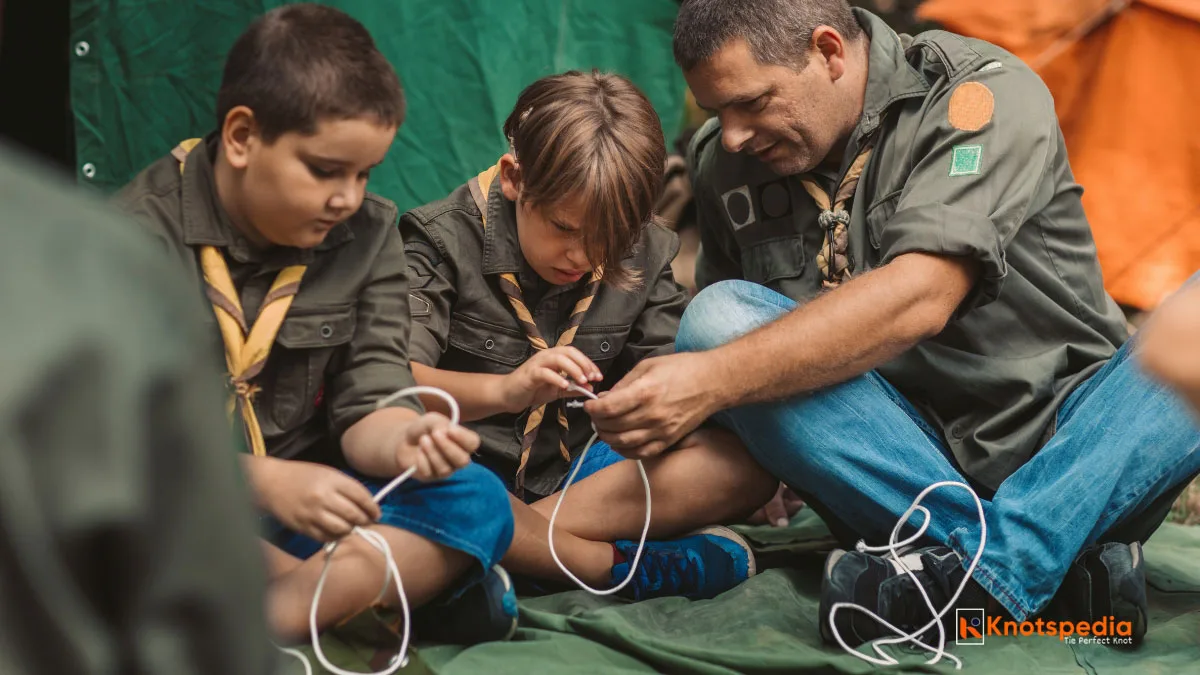
The Ossel Hitch is a go-to knot for fishermen for years.

It’s mainly used to attach the nets to the submerged float ropes.

It’s strong, holds pretty well under tension in wet conditions and is easy to untie after going through heavy loading.

Other Similar Knots

Ossel Knot

OSSEL KNOT DIAGRAM GEOFFREY BUDWORTH

The Ossel Knot is used on the upper ends of the Ossel ropes.

It’s stronger than the Ossel Hitch as it has to resist being bashed on the surface of the rough sea.

Ground Line Hitch

GROUND LINE HITCH

The Ground Line Hitch is tied with a thin cord onto a thicker line.

It’s used by the cod fisherman on their trawl nets and as a picket line hitch to tie horses.

This hitch is used to attach the net to the groundline (rope on the bottom of the net like the gillnet).

Geoffrey Budworth suggests using a slipped version of this knot especially when the ropes are not swinging.


Liked the article? Share it or Bookmark it with family and friends!

Leave a Comment

You May also like

SHAKE-HANDS-BEND

Shake Hands Bend

The Shake Hands Bend is a reliable knot for joining two ropes. It’s strong, neat, and works well with slippery ropes, making it perfect for tight spaces!

BOOM-HITCH-DIAGRAM

Boom Hitch

The Boom Hitch (ABoK #1687) secures ropes to sail boom or fixed objects. Perfect for heavy loads and works even on slippery surfaces like steel.

SNAP-BOWLINE-KNOT-DIAGRAM

Snap Bowline

The Snap Bowline is a quick and reliable way to tie a Bowline Knot. Ideal for emergencies, it’s simple and nearly foolproof!

ONE-HANDED-BOWLINE-KNOT-DIAGRAM

One Handed Bowline

The One Handed Bowline is a quick, one-handed knot for creating a secure loop, perfect for emergencies or rescue scenarios when one hand is unavailable.

FIGURE-9-LOOP-DIAGRAM

Figure 9 Loop

The Figure 9 Loop Knot creates a strong, fixed loop at the rope's end. It's bulkier and stronger than the Figure 8 Loop, ideal for caving and rappelling.

CHAIN-SINNET-KNOT

Chain Sinnet

The Chain Sinnet is a quick-release knot used to shorten ropes. Easy to tie, untie, and tangle-free, it's perfect for crafts, climbing, and cable management!

MARLINSPIKE-HITCH-DIAGRAM

Marlinspike Hitch

The Marlinspike Hitch is a quick, temporary knot that creates a handle using a rod or stick. Ideal for tightening knots, making ladders, or hammock setups!

SHEEPSHANK-KNOT-DIAGRAM

Sheepshank Knot

The Sheepshank knot is used to shorten rope or isolate damaged sections. While easy to tie, it’s unreliable and unsuitable for critical applications.