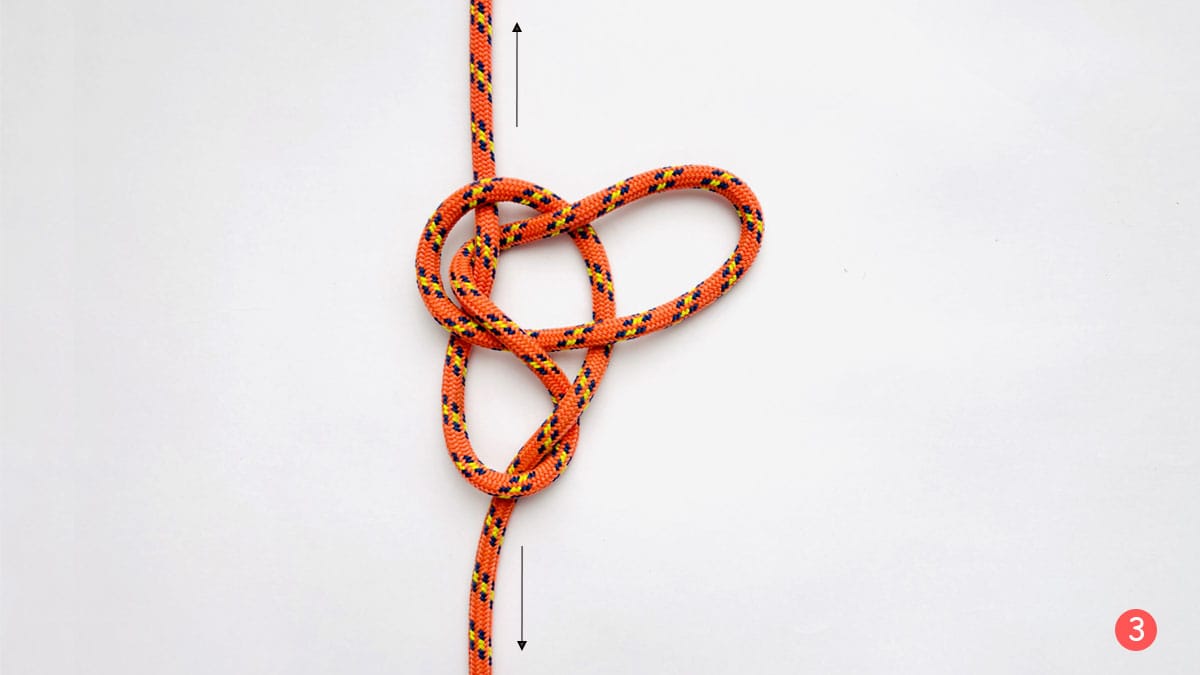
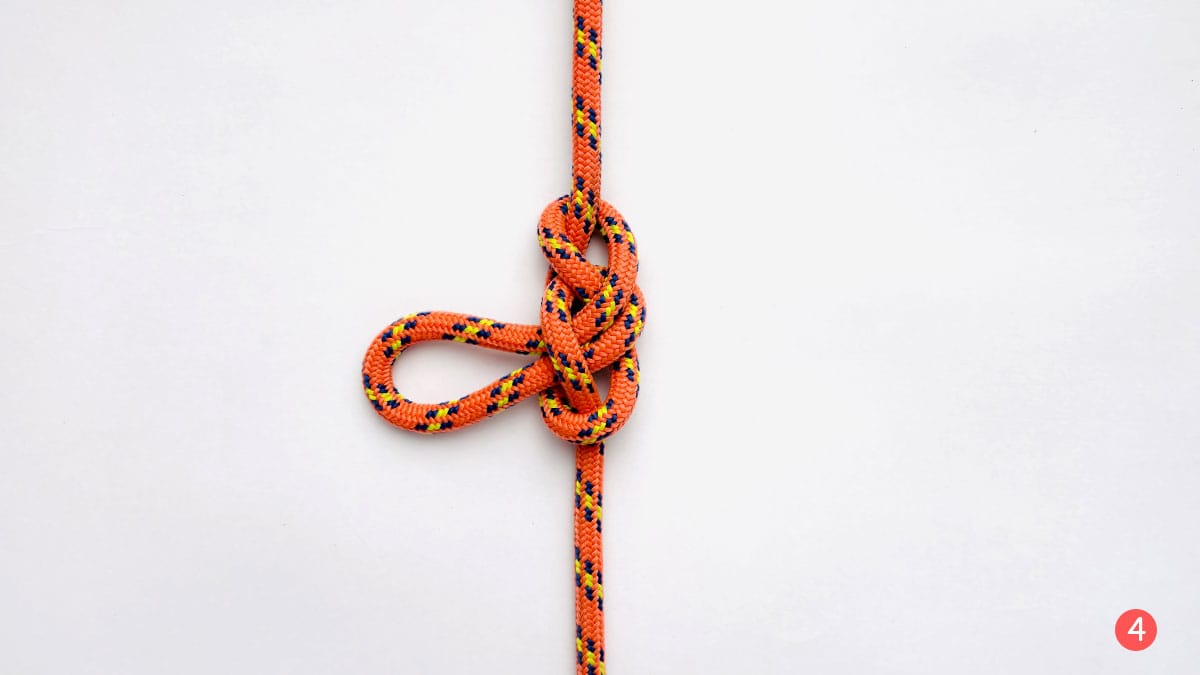
The Span Loop forms a single loop in the middle of the rope.
It does not jam and is extremely easy to untie, even after heavy loading.
Is it better than the Alpine Butterfly Knot? That’s up for the debate! But it works well under moderate loads.
Let’s learn it in detail.
Span Loop Knot Details
Type: Loop Knot
Other Names: None
ABoK Reference: #1049
How to Tie a Span Loop Knot
It’s an easy-to-tie knot.
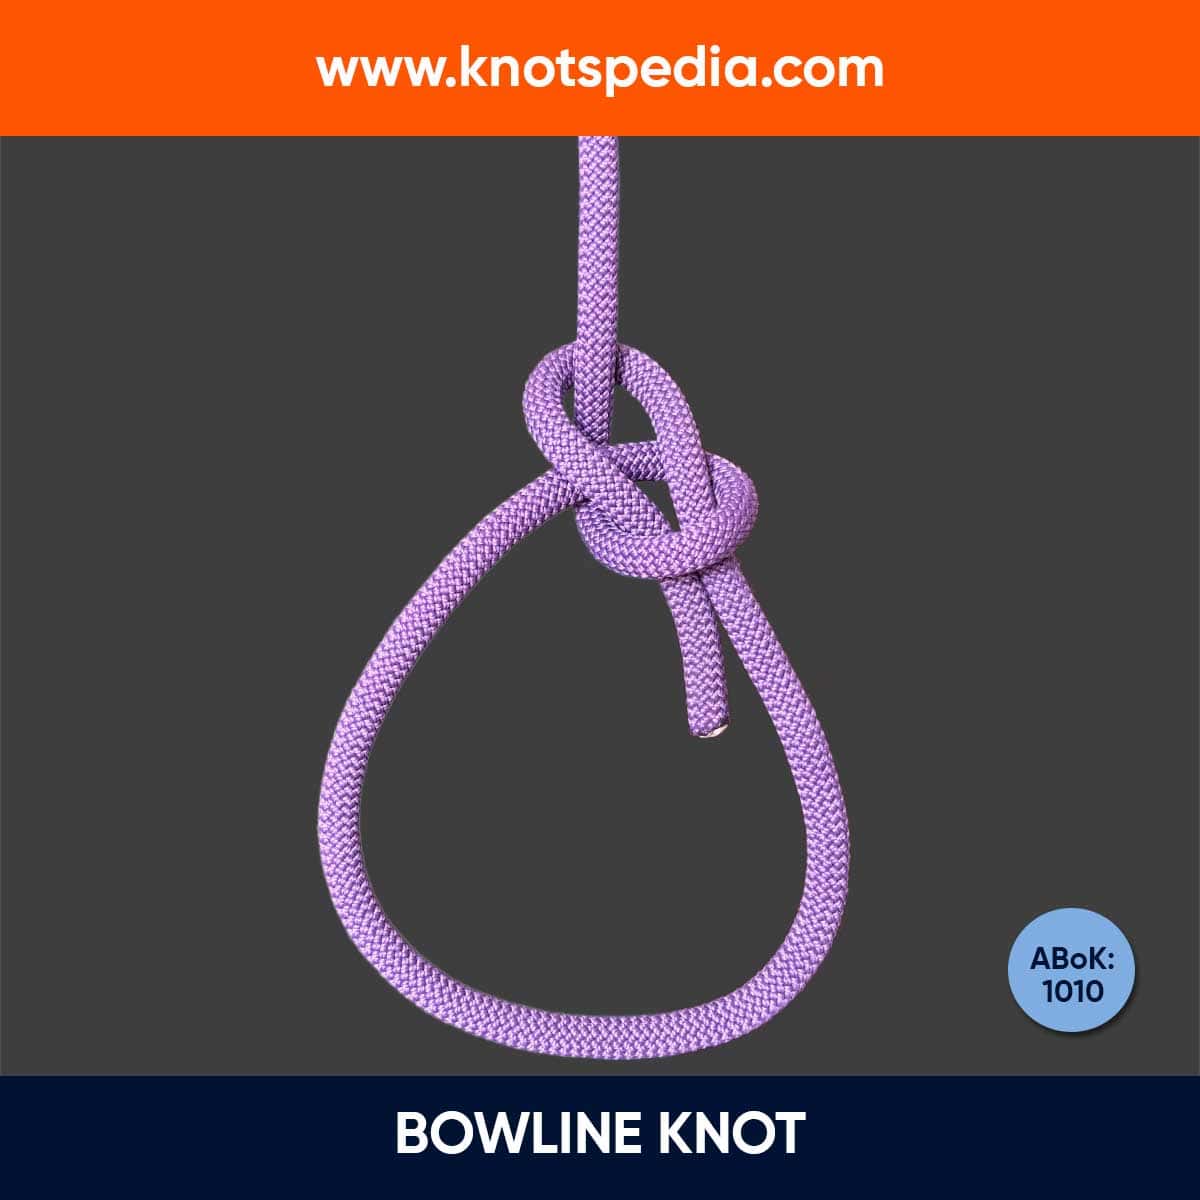
If you know how to tie a Bellringer’s knot, you are halfway there.
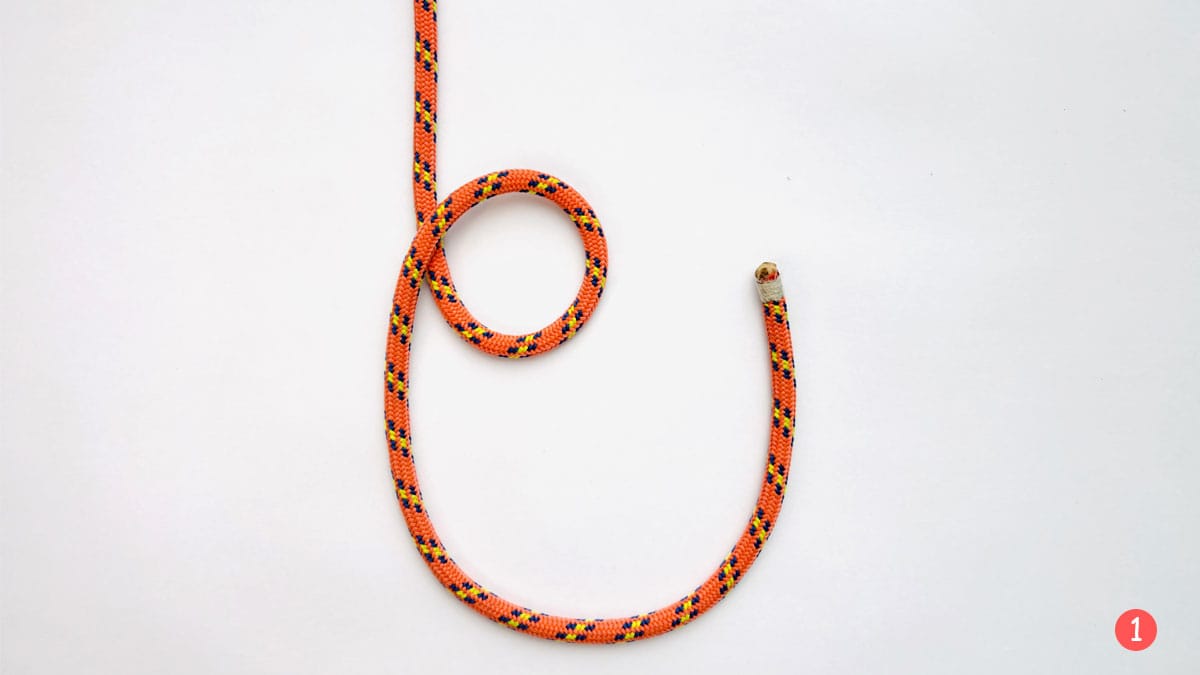
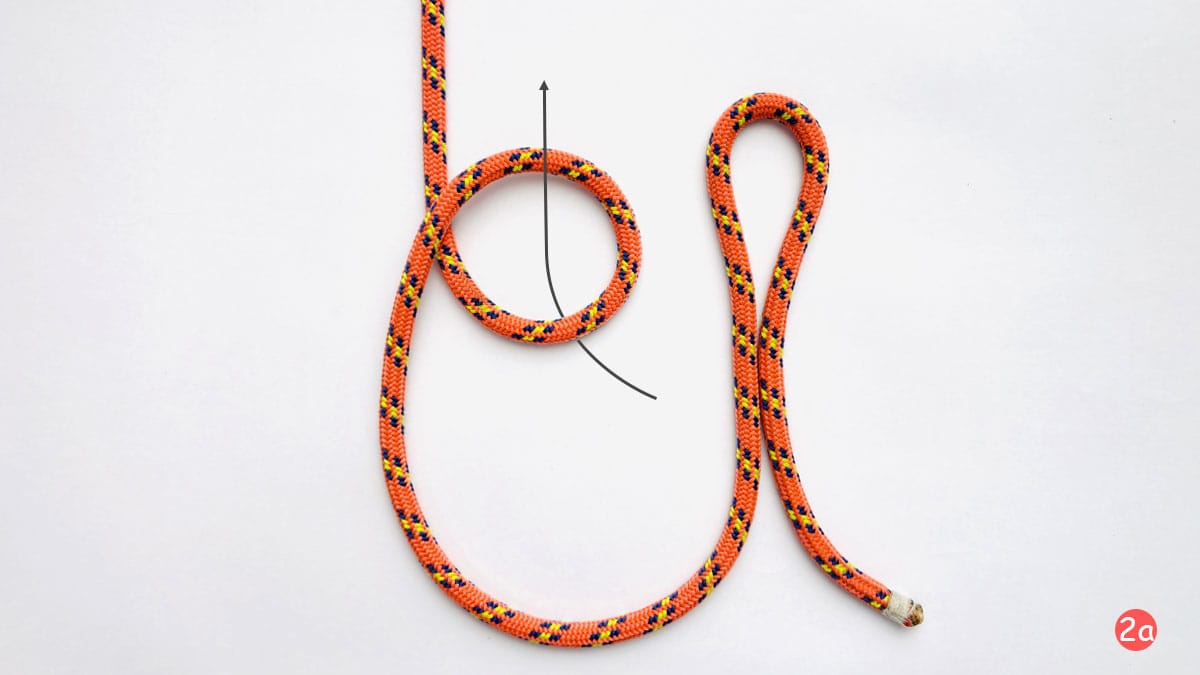
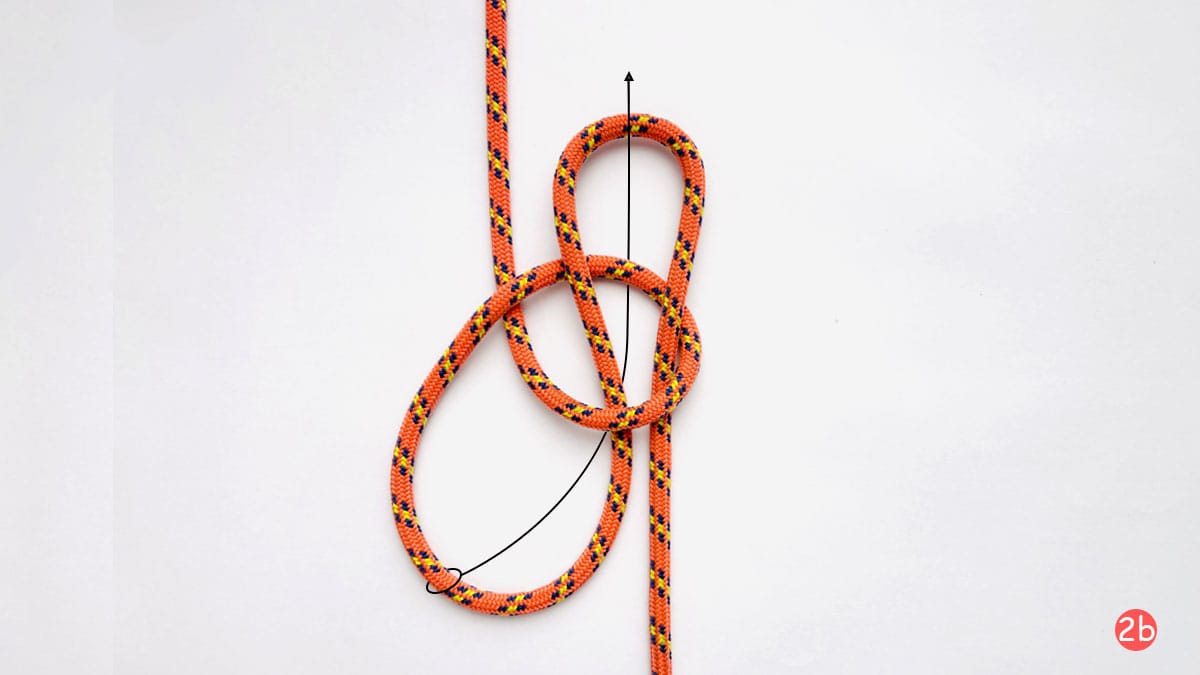
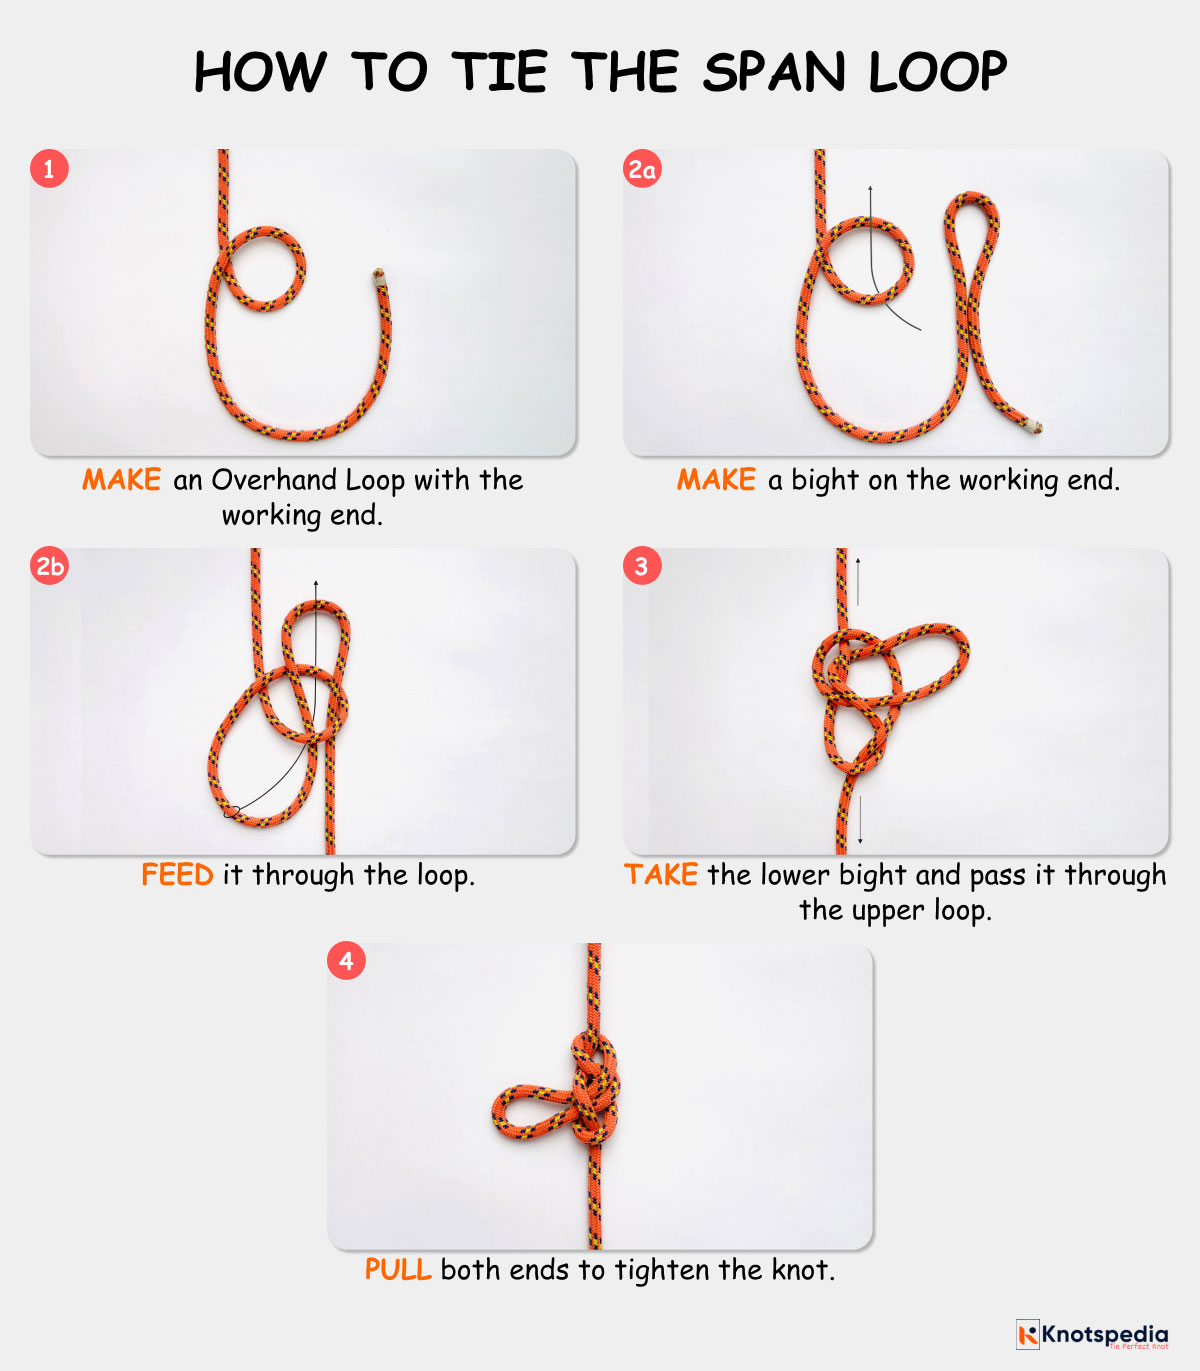
To tie the Span Loop, start as if you are tying the Sheepshank knot, tuck the bight inside the loop, and tighten the knot.
- Make an Overhand Loop with the working end.
- Make a bight on the working end and feed it through the loop.
- Take the lower bight and pass it through the upper loop.
- Pull both ends to tighten the knot.
Span Loop Step by Step
Span Loop Video Guide (Easy Method)
Pros & Cons
- Easy to tie
- Strong and secure
- Extremely easy to untie
- Can not be tied under load
Application and Uses
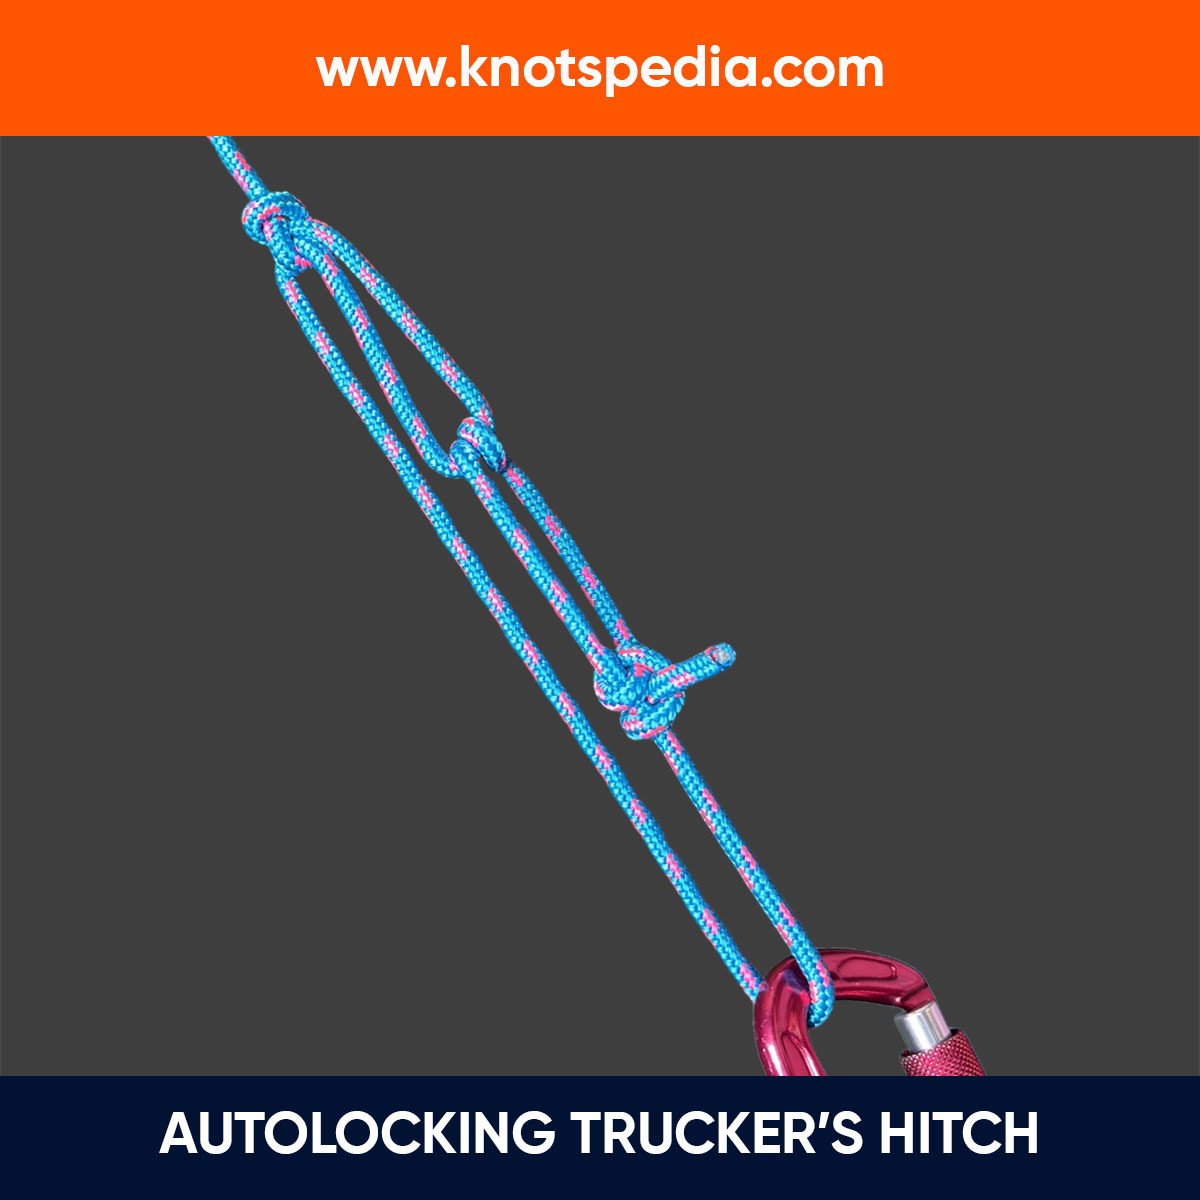
- Make a loop for the Trucker’s Hitch.
- Arborists use this loop knot for tree work. It’s secure for rigging works and easy to untie after use.
- Attach hooks to a tackle block system.
Other Knot Similar to Span Loop
Alpine Butterfly Knot
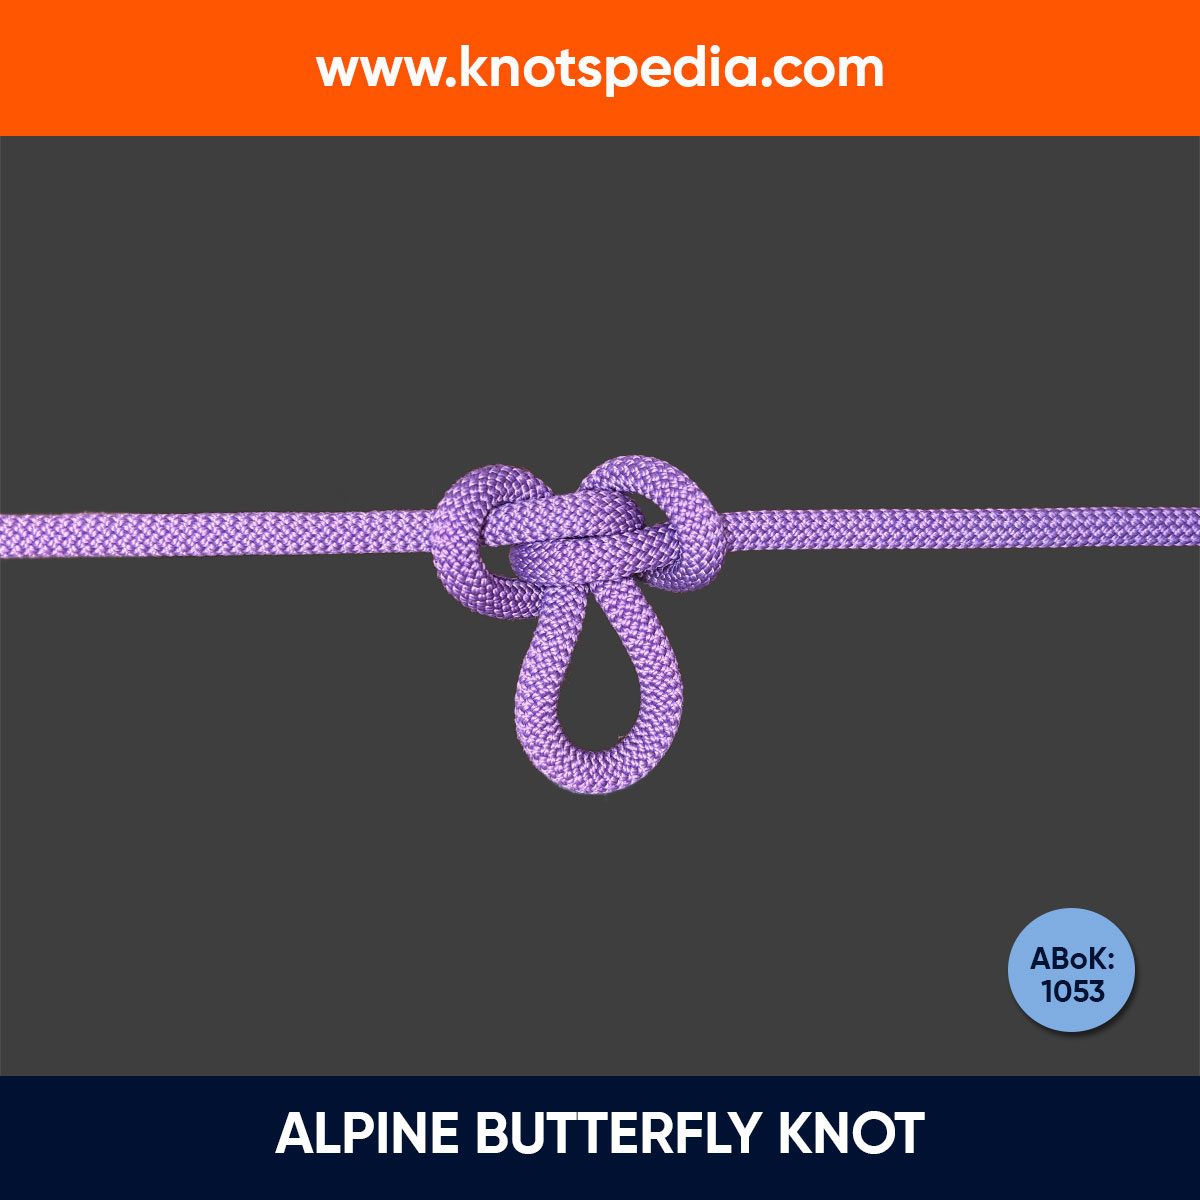
The Alpine Butterfly Knot is another single loop knot formed in the middle of the rope.
Unlike the Span loop knot, it is symmetrical and works best for multi directional loading.
It’s perfect for heavy loading tasks as well.
Farmer’s Loop
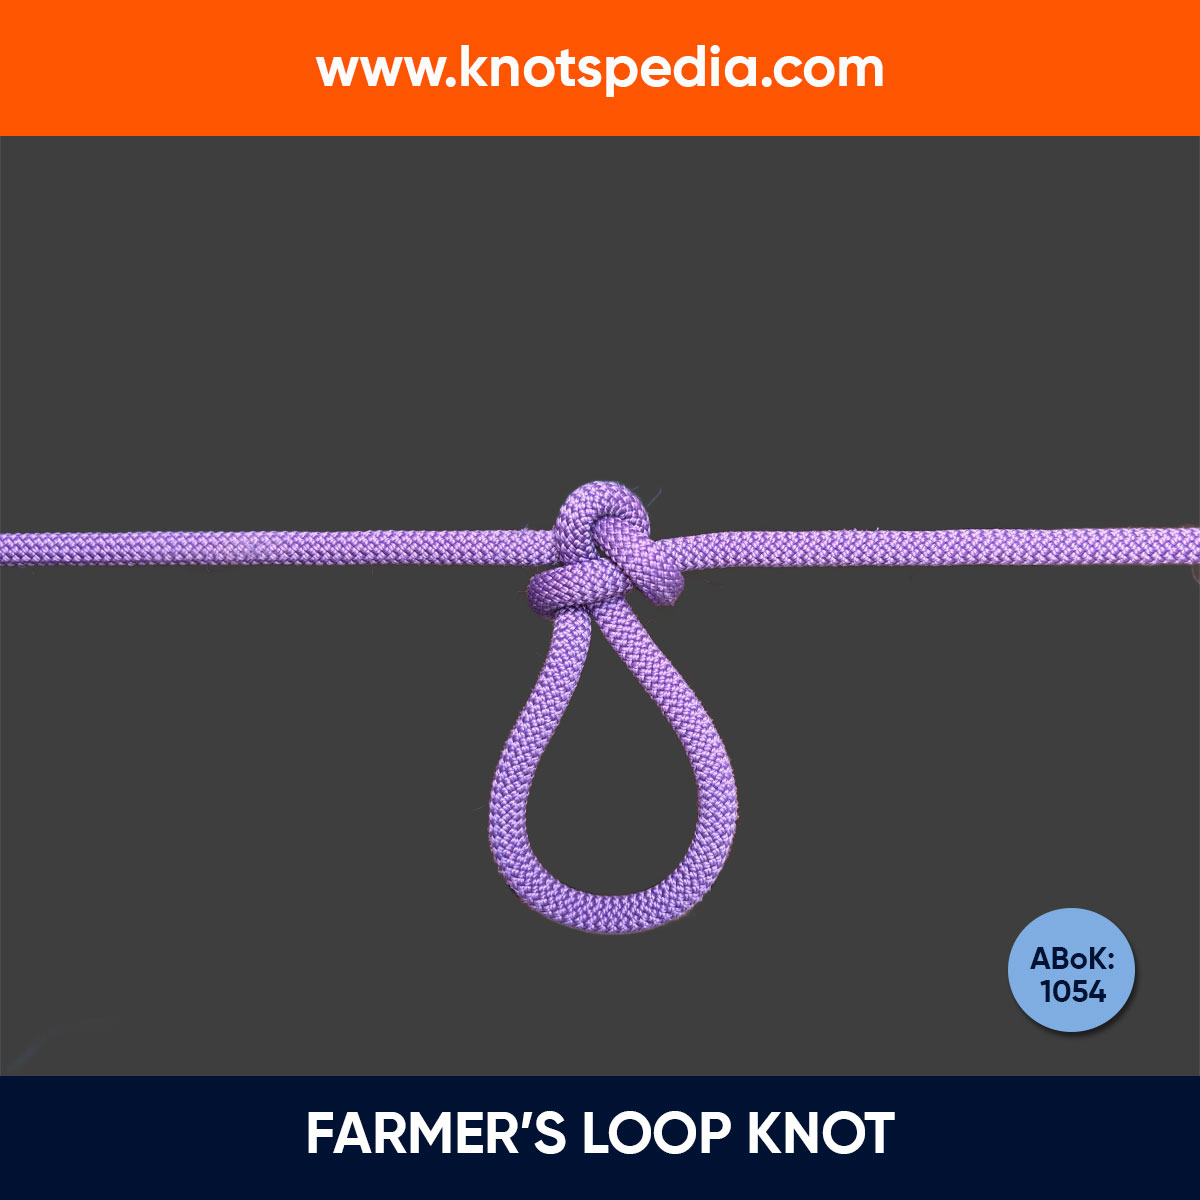
The Farmer’s Loop is also a single loop knot.
It’s not symmetrical in appearance but is easy to tie and is difficult to forget once the knot is mastered.
Artillery Loop
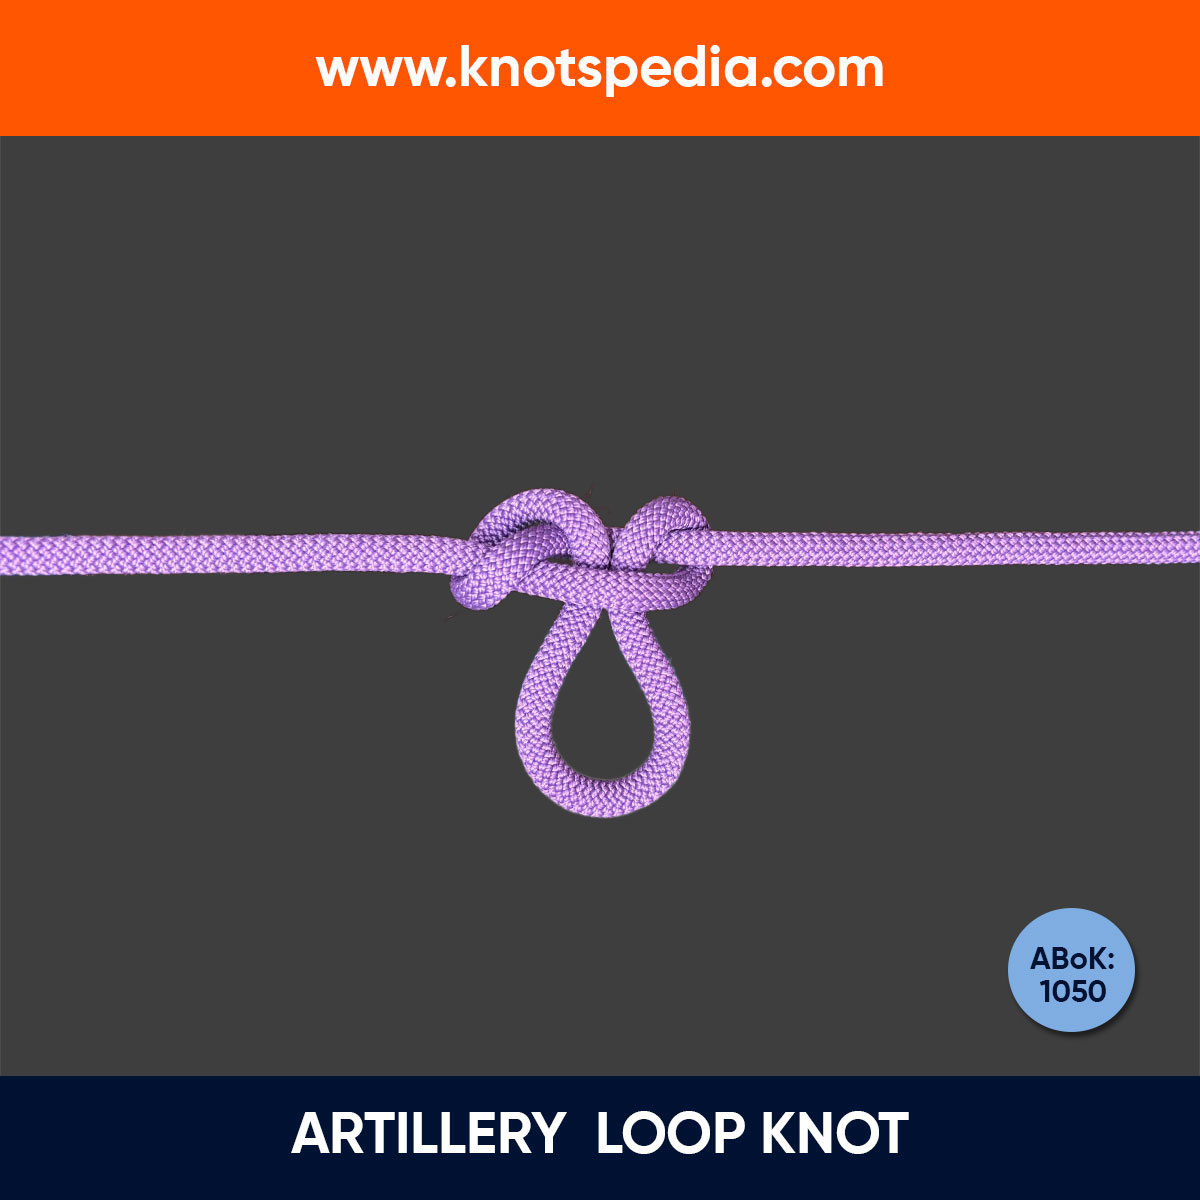
The Artillery Loop (also known as the Harness Loop or the Artilleryman’s Loop) forms a loop in the middle of the rope.
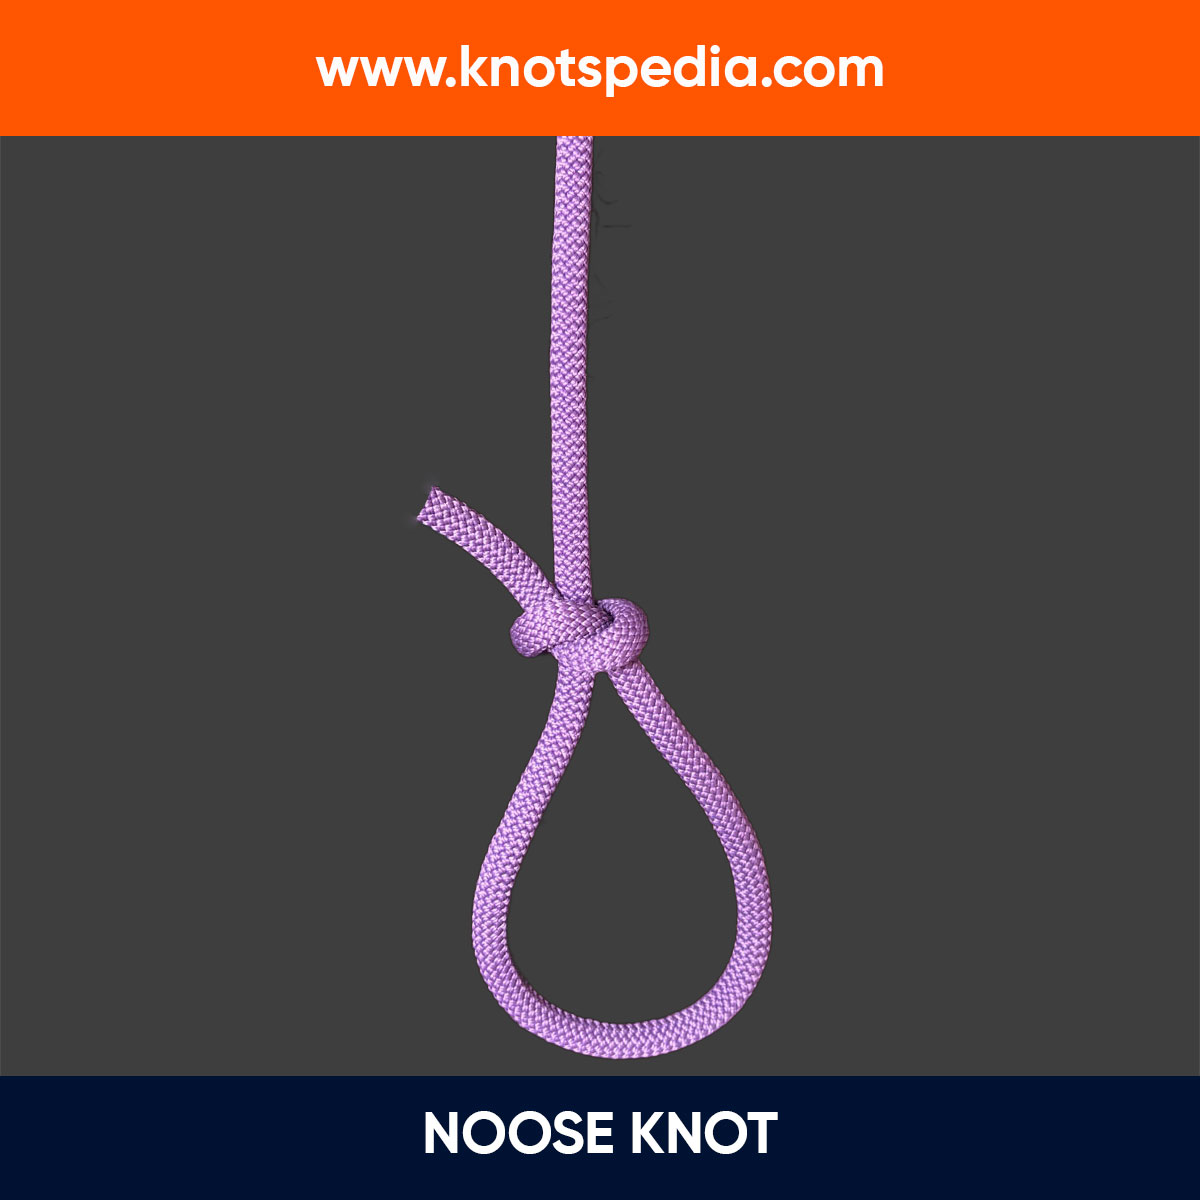
It’s inferior to the Alpine Butterfly Loop and the Farmer’s Loop because if the loops are not loaded, the knot can deform into a Noose knot.
It’s not ideal for critical applications.
Liked the article? Share it with your family and friends!
